
I needed a new floor for a bedroom that was being remodeled, I looked at every possible solution. Carpet, laminate, tile, hardwood, vinyl, even pennies. I had noticed a few folks using plywood, specifically cutting it down to planks. Jenny had the best guide that fit with what I was trying to do. After thinking more about this, and considering the room I needed the floor in is a kid’s bedroom, 2nd story, not perfectly level – it would be a great spot to try and make a plywood plank floor. I’m not going for a natural wood finish, I wanted something gray – with a bit of wood grain.
I’ll go into some detail on the steps, but if you’re looking to see the process at a glance, it was this:
Overview:
- Cut the plywood into planks
- Sand the plywood (best side only)
- Route the edges (you don’t want splinters)
- Nail floor down (finishing nails w/ nail gun)
- Apply white wash to floor (watered down paint)
- Apply gray wash to floor (watered down paint)
- Sand floor to get some wood to show through (finishing sander)
- Apply Polyurethane finished to floor – 4 coats.
- Step back and either admire – or regret – your work
Okay, a little more detail.
Step 1. Cut the plywood into planks.
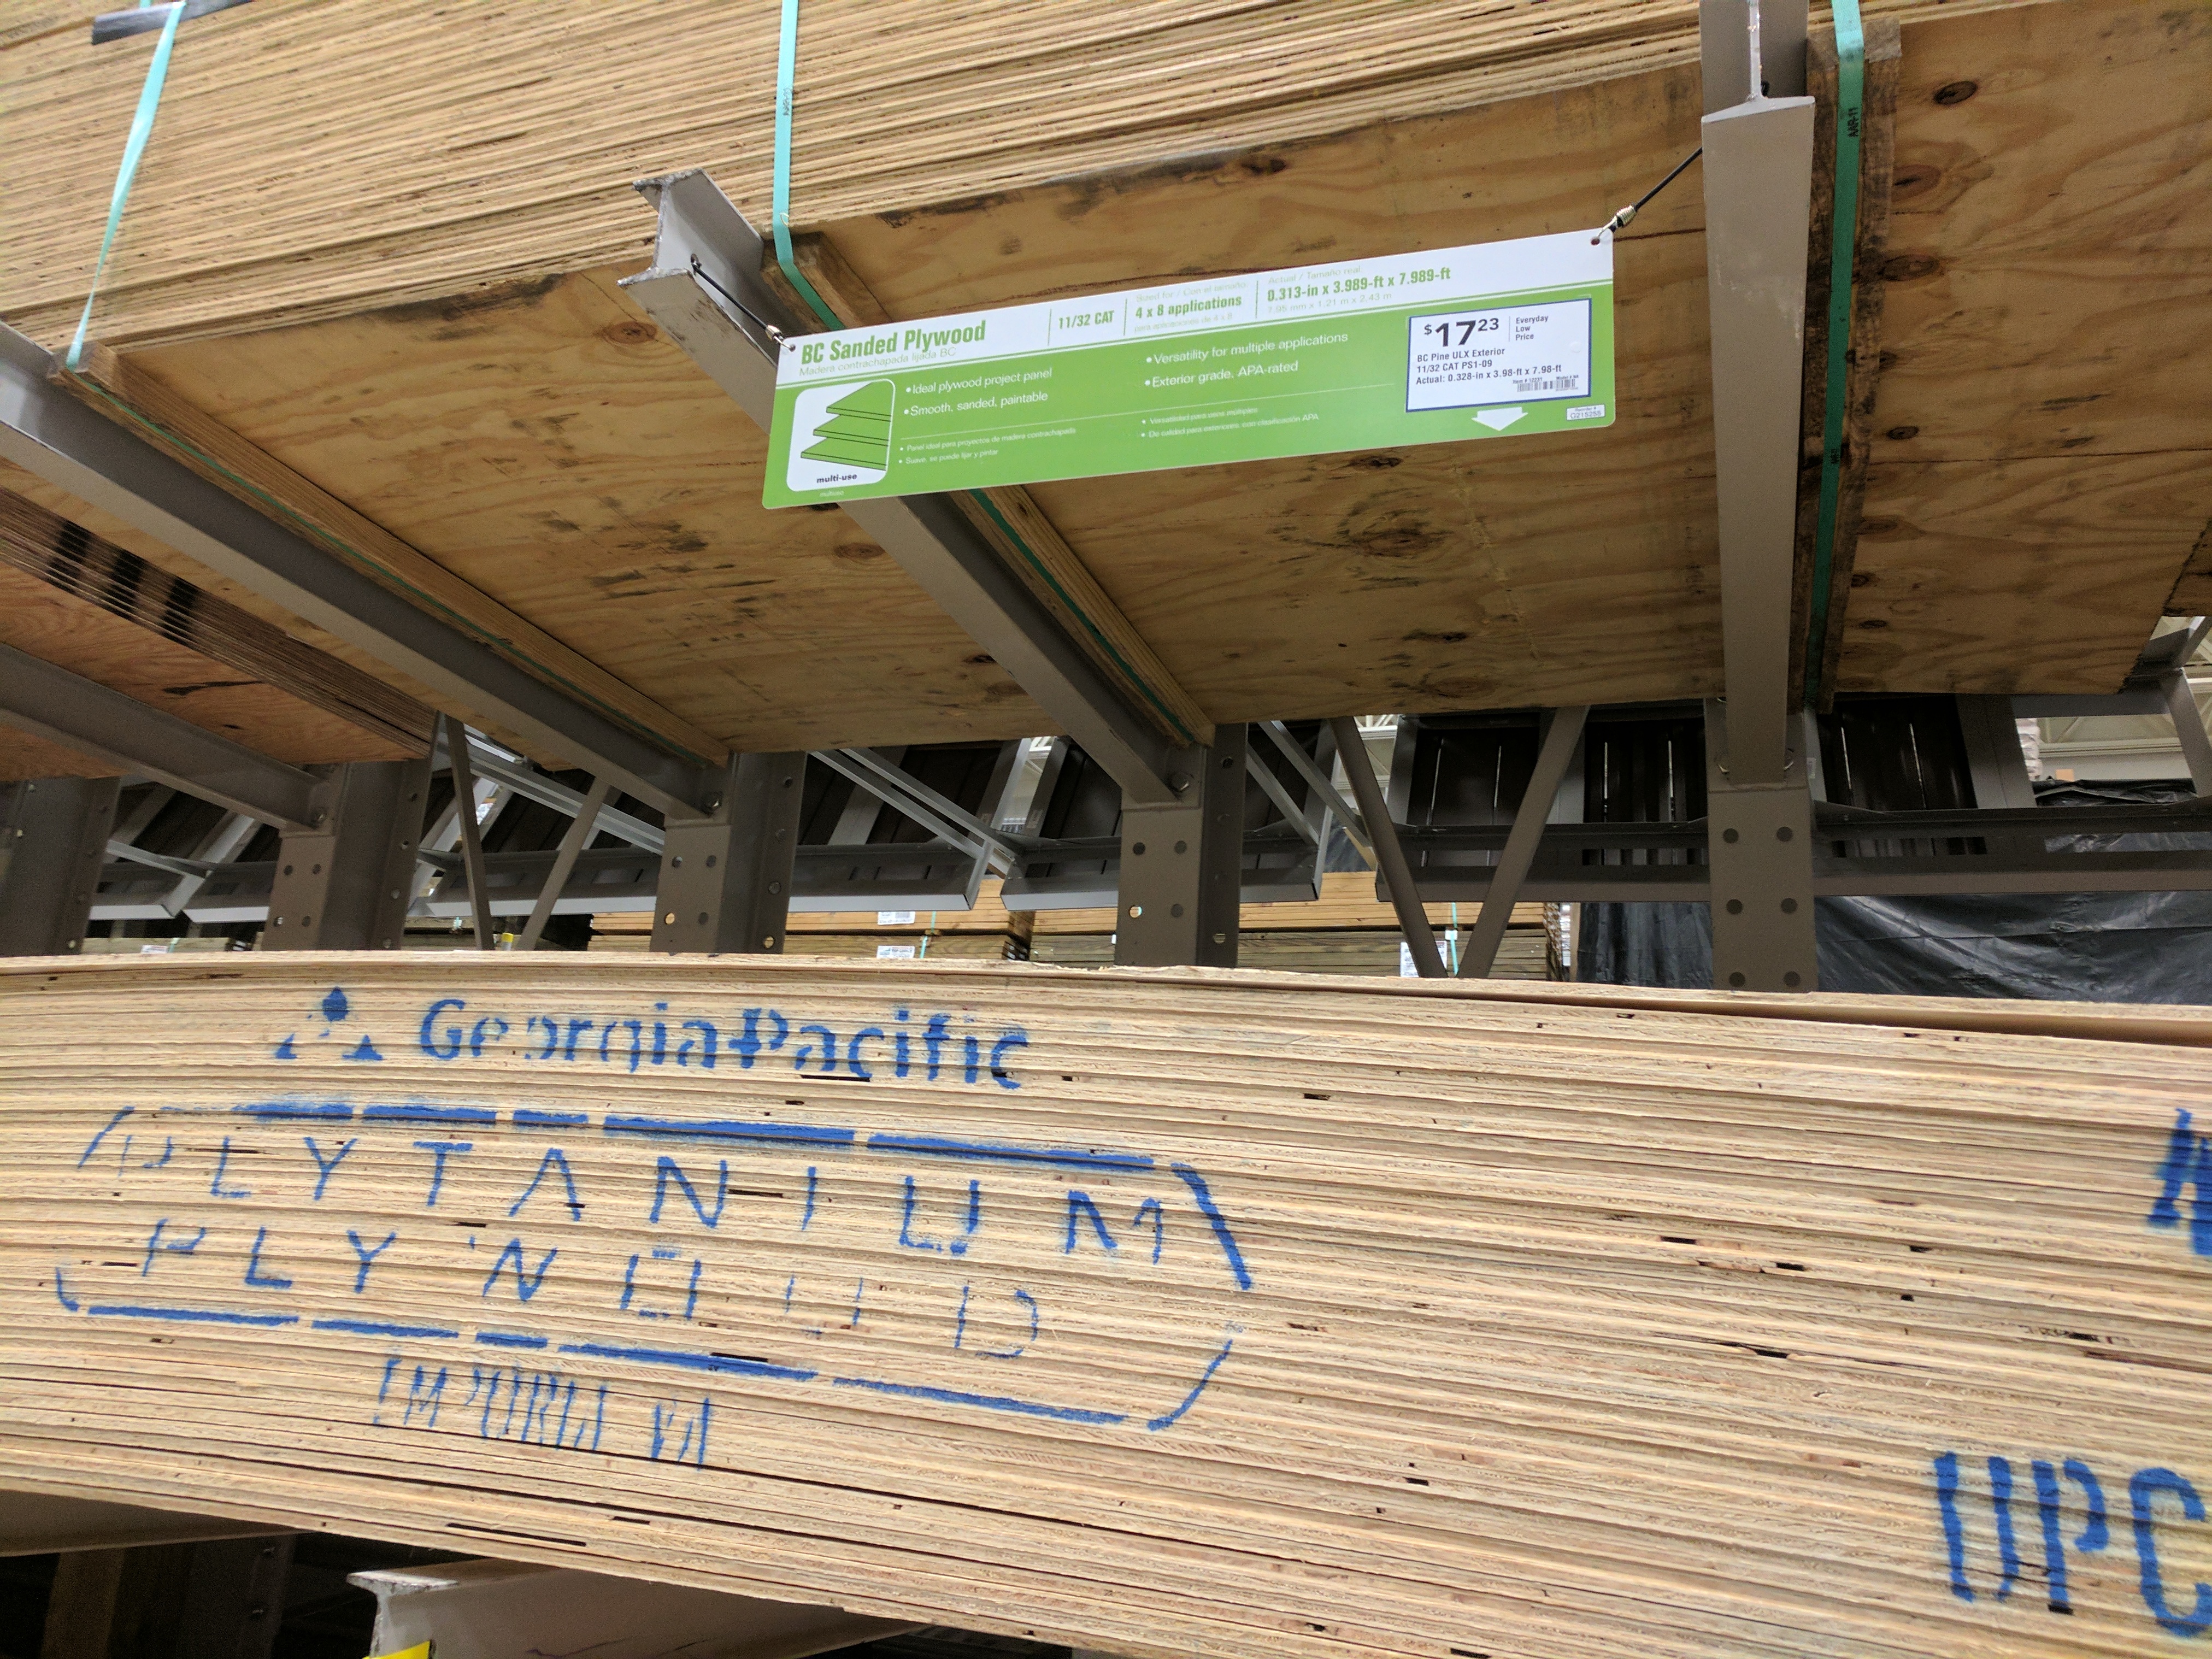
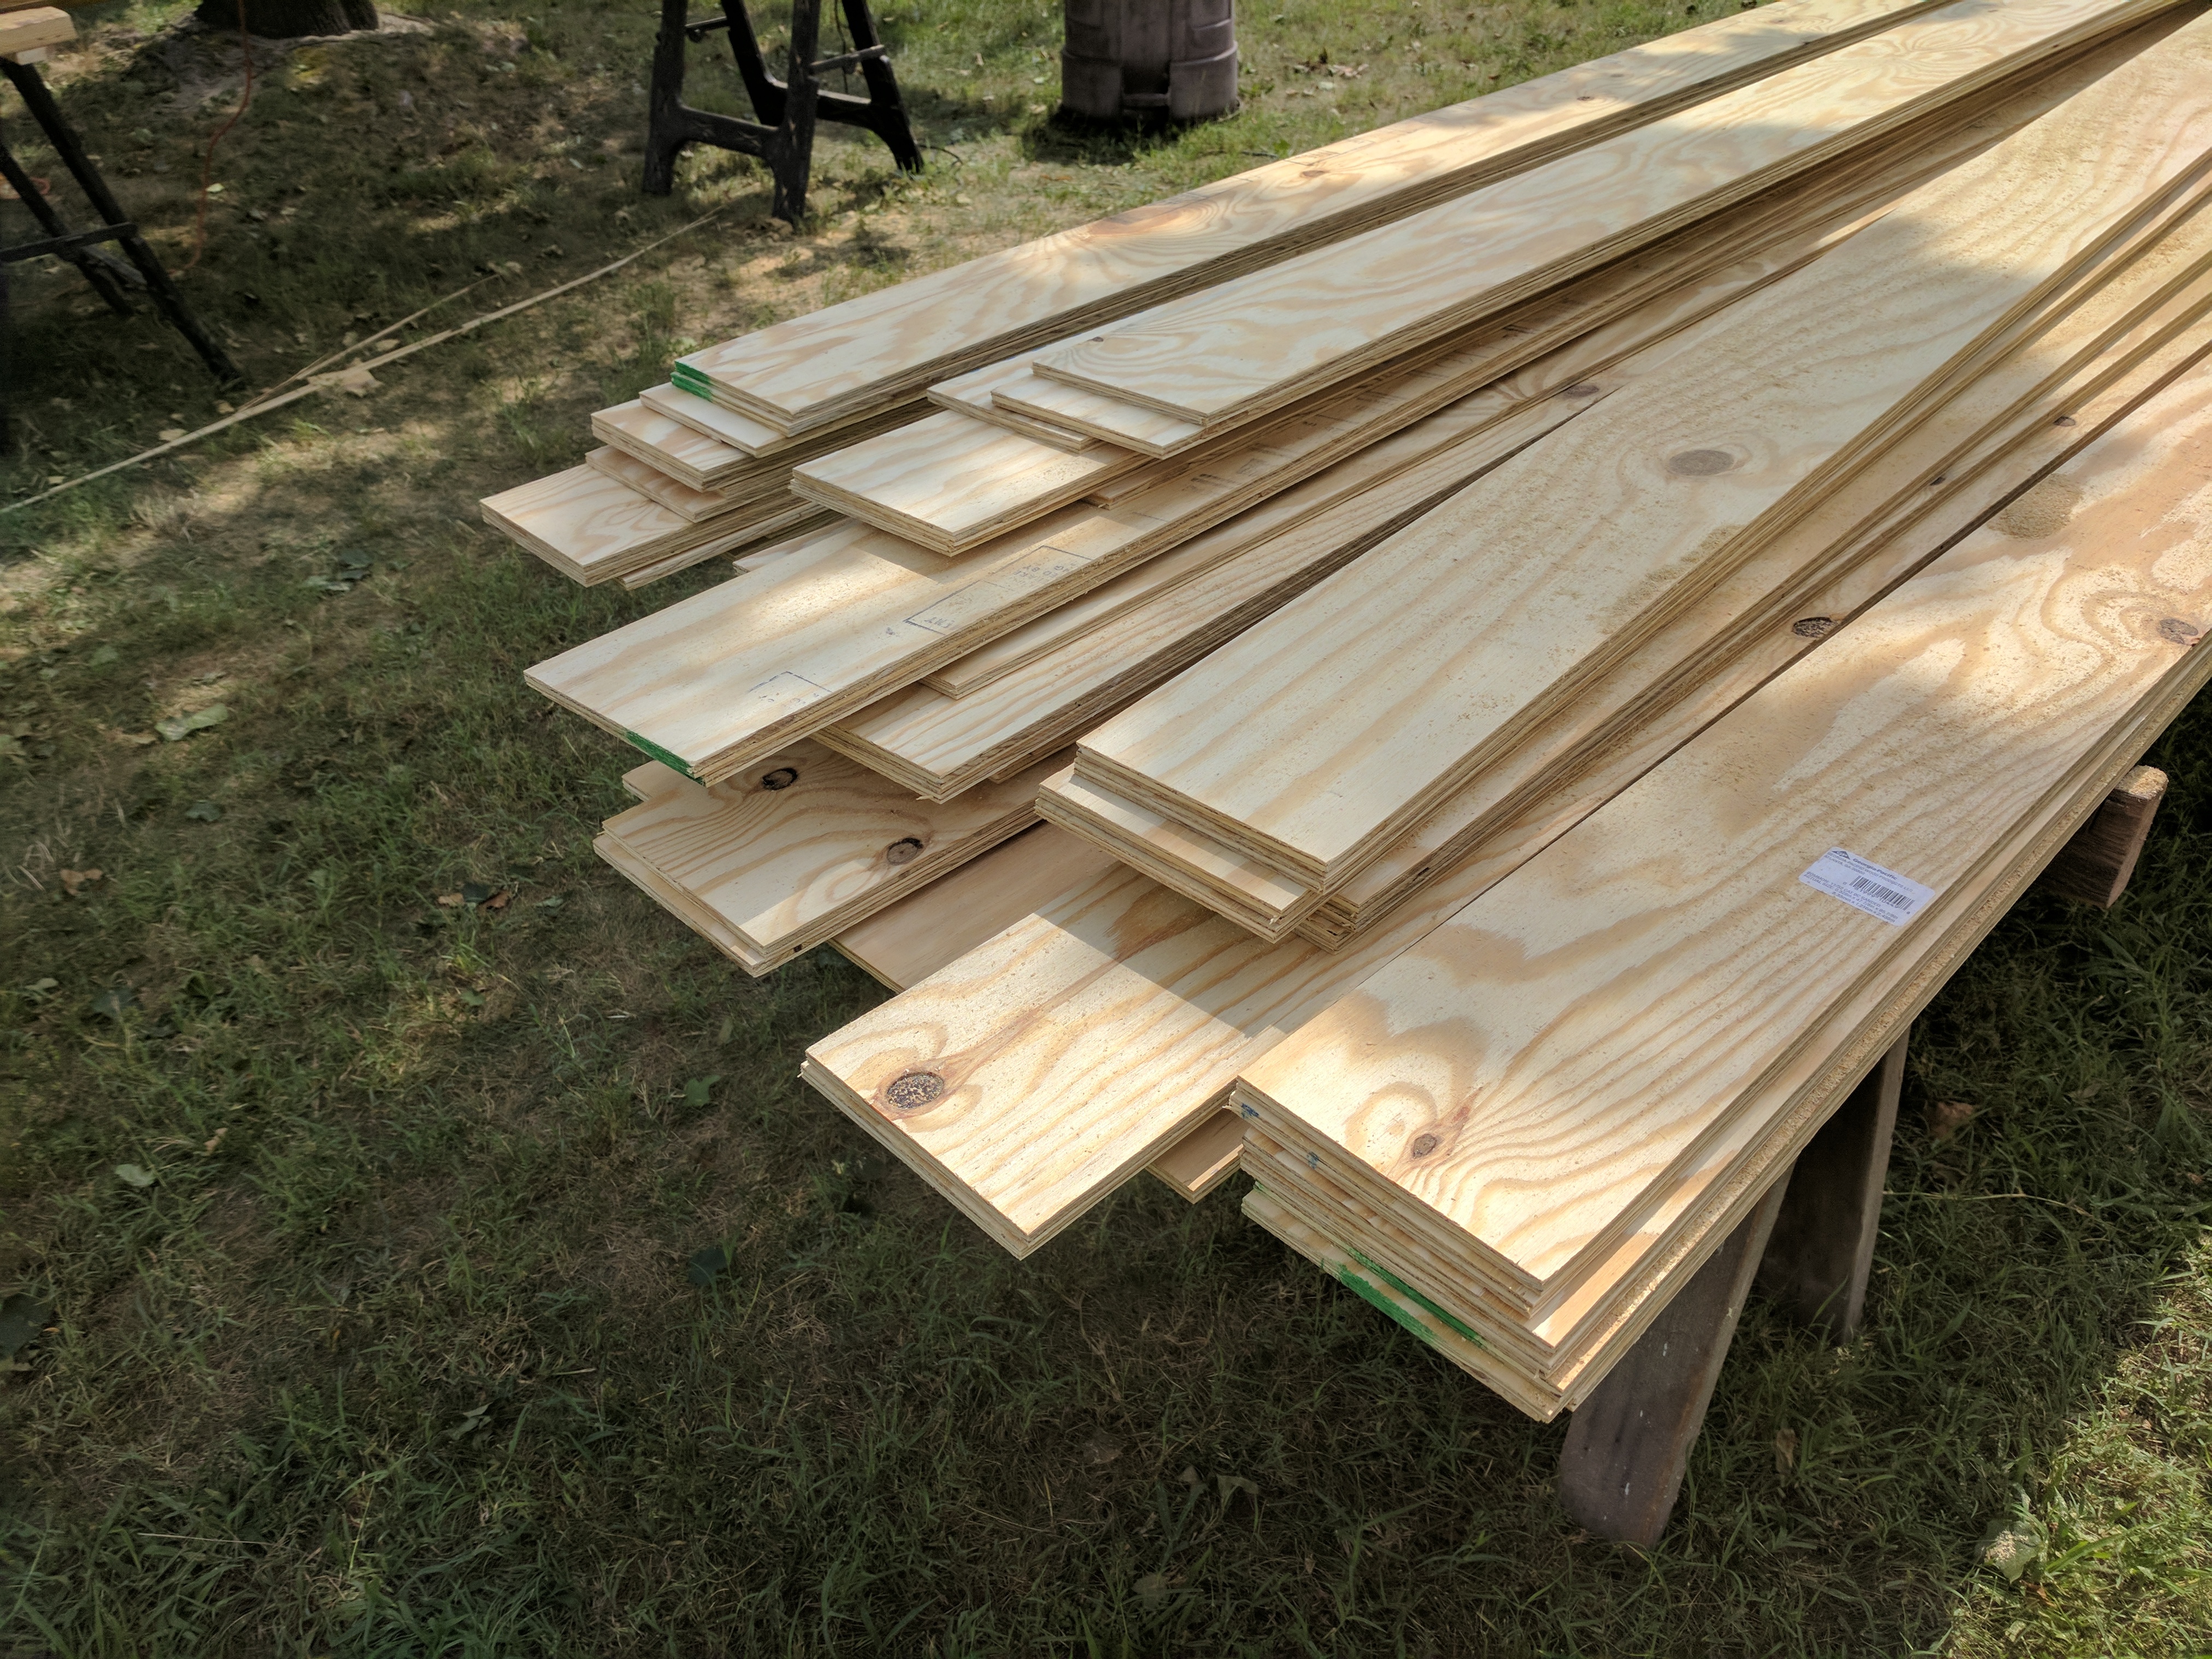
Well, I guess first you need to get the plywood. I picked this 11/32 sanded plywood (from Lowes). I didn’t want anything too thick (I read others used 1/2″ and above) and honestly, this was a great deal and already had a decent side to the wood that worked well. I choose to cut my planks to 6 inches. Technically I did 5 7/8″ (I accounted for saw blade loss) so I could get 8 planks from each 4×8 plywood sheet. I needed about 8 sheets.
I cut my sheets outside, using a circular saw and a guide I made (let me know if you want details on this). This worked okay, but if I do it again, I’m going to make a panel saw or something to get them even more precise and to reduce time spent measuring and clamping. I had a few that came out a little narrow or wide.
Step 2. Sand the planks
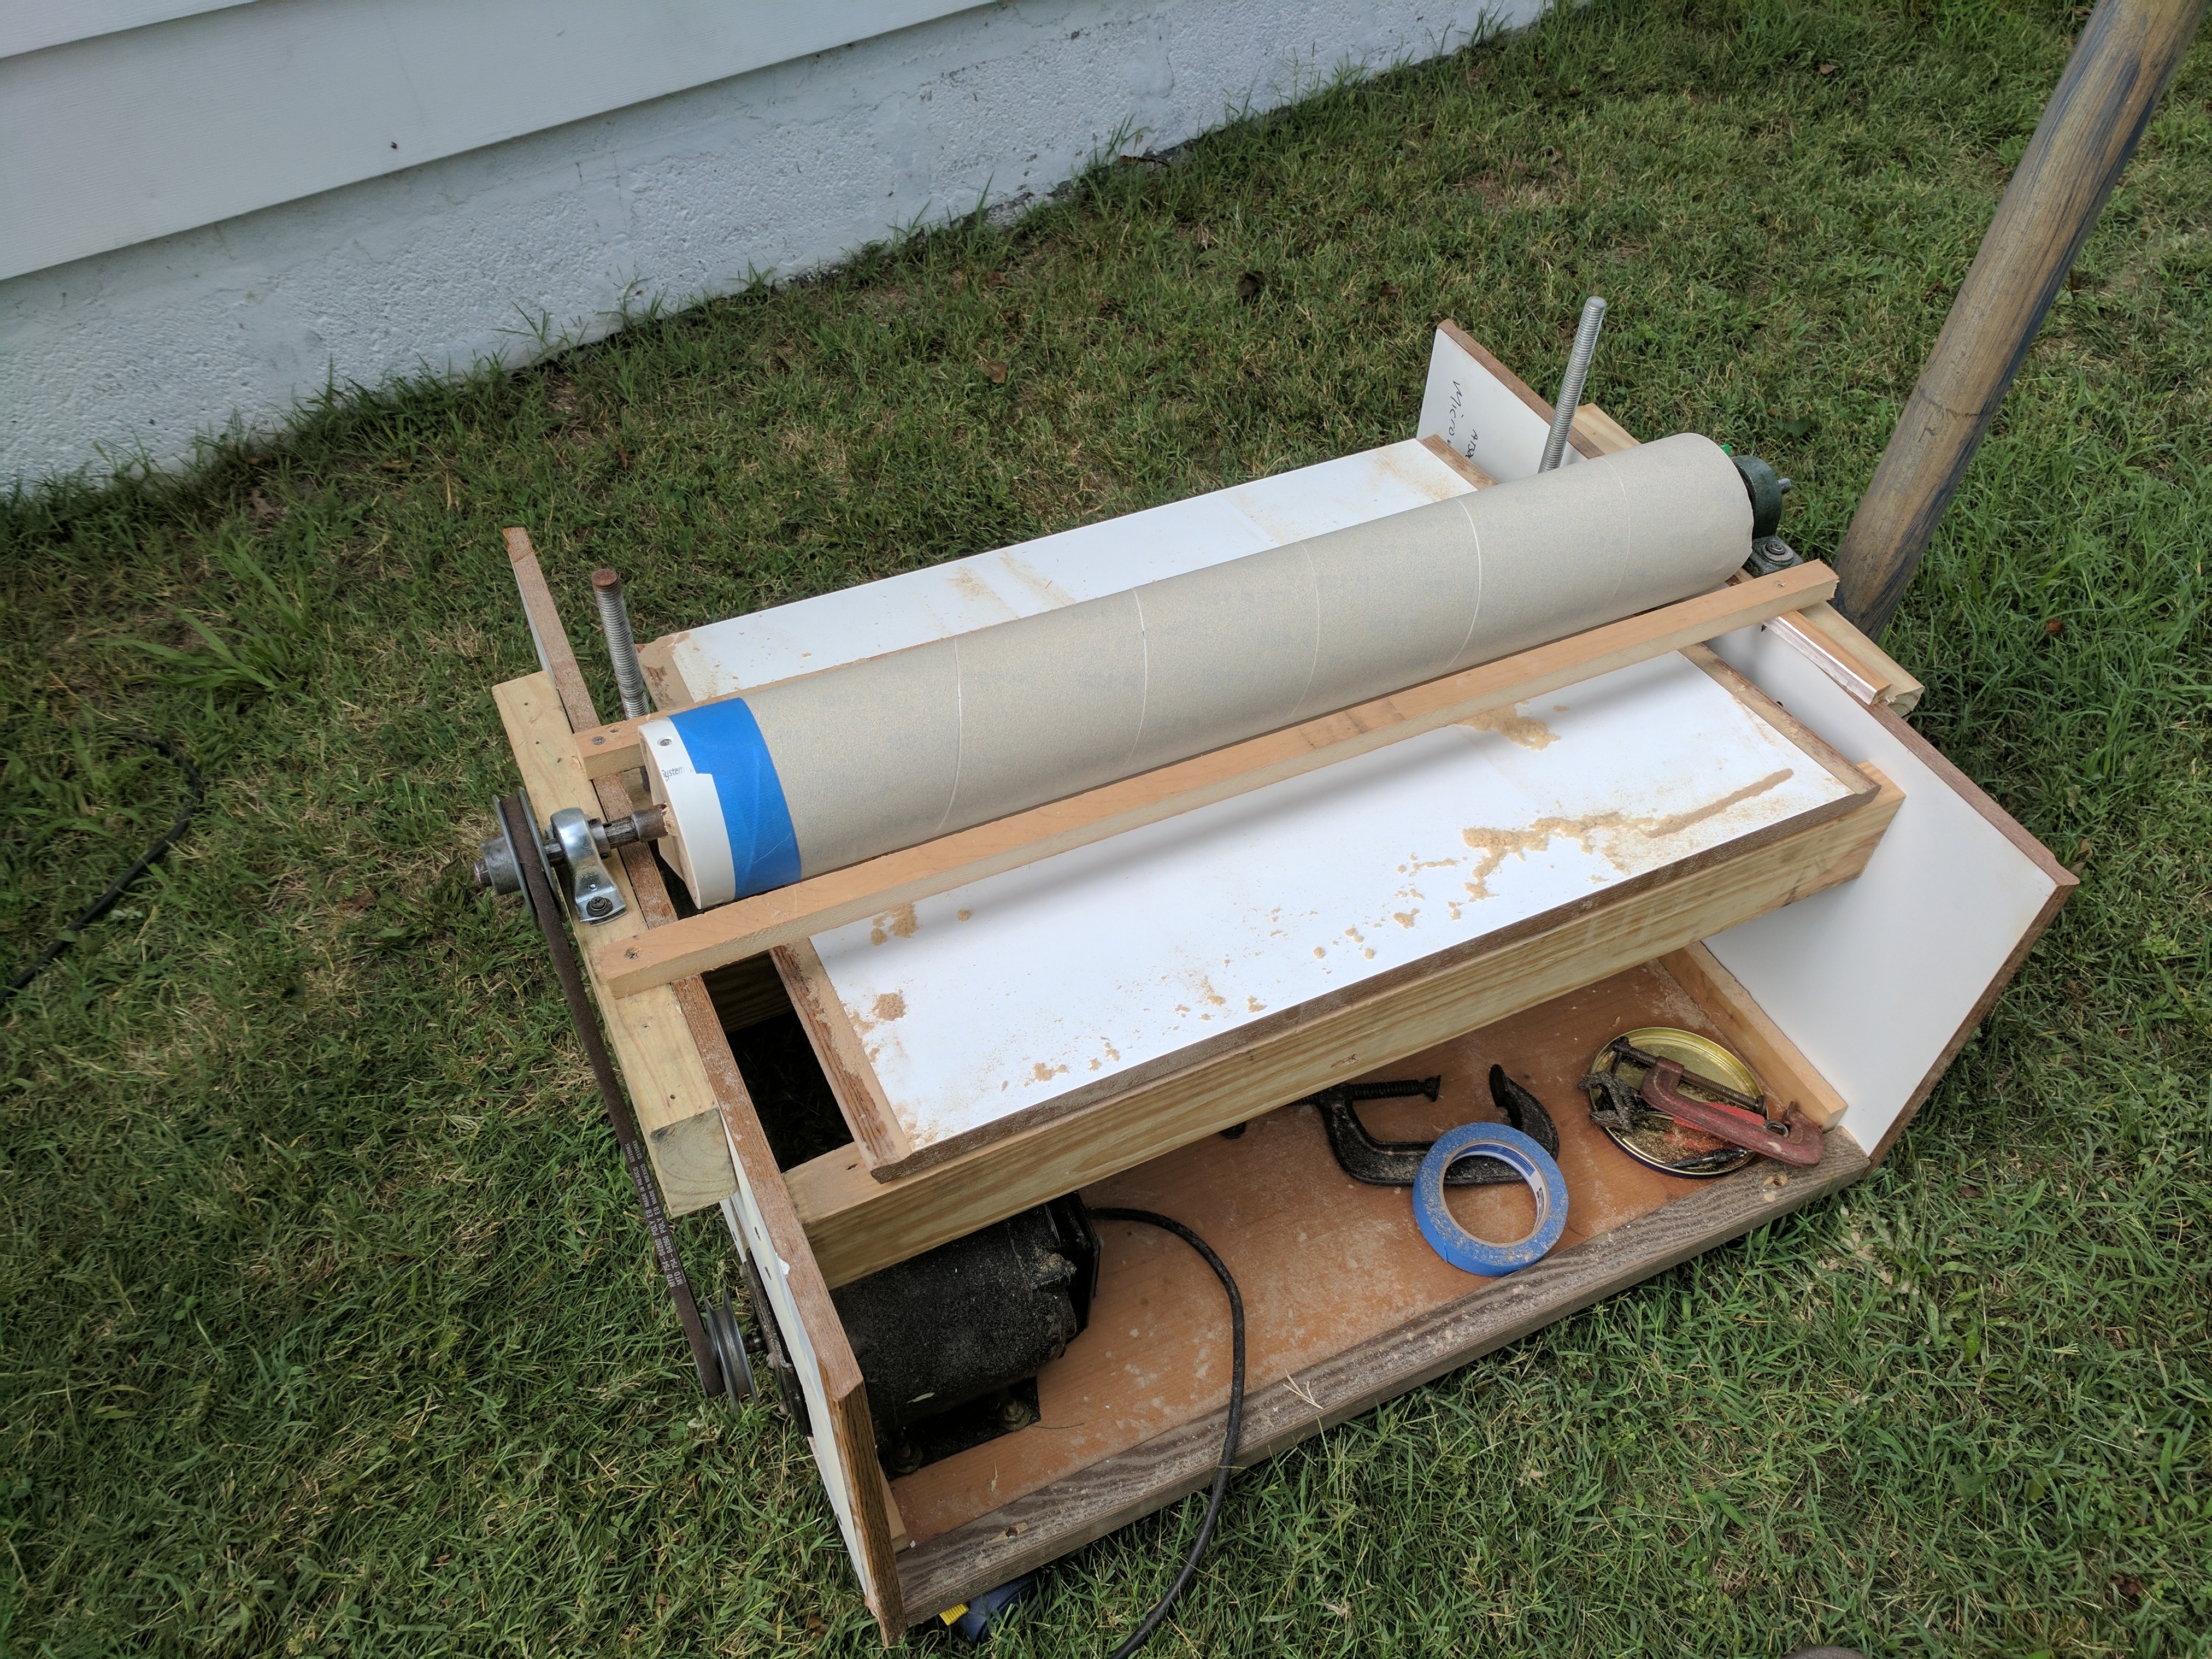
This is the part I was dreading. In my mind, sanding 60+ planks by hand would never end, and I wouldn’t be able to ensure they would be consistent. Before I even bought the plywood, I wanted to see if I could come up with something to help this. I had been in shops that had drum / thickness sanders and thought, that seems like it would be perfect. Long story short – I made one. It wasn’t high tech or the most accurate thing, but using an old motor, some 4″ PVC, a shaft I found in the scrap file, some bearings from Amazon and some Porter Cable self-adhesive sand paper, the thickness sander was born. Yes, those are old kitchen cabin doors that make the frame – and adjustable table. I was able to run the boards through about 5 or 6 times each to get them to a smoothness I was happy with. It took a few hours to do all 60 planks. Also let me know if you want more info on this build.
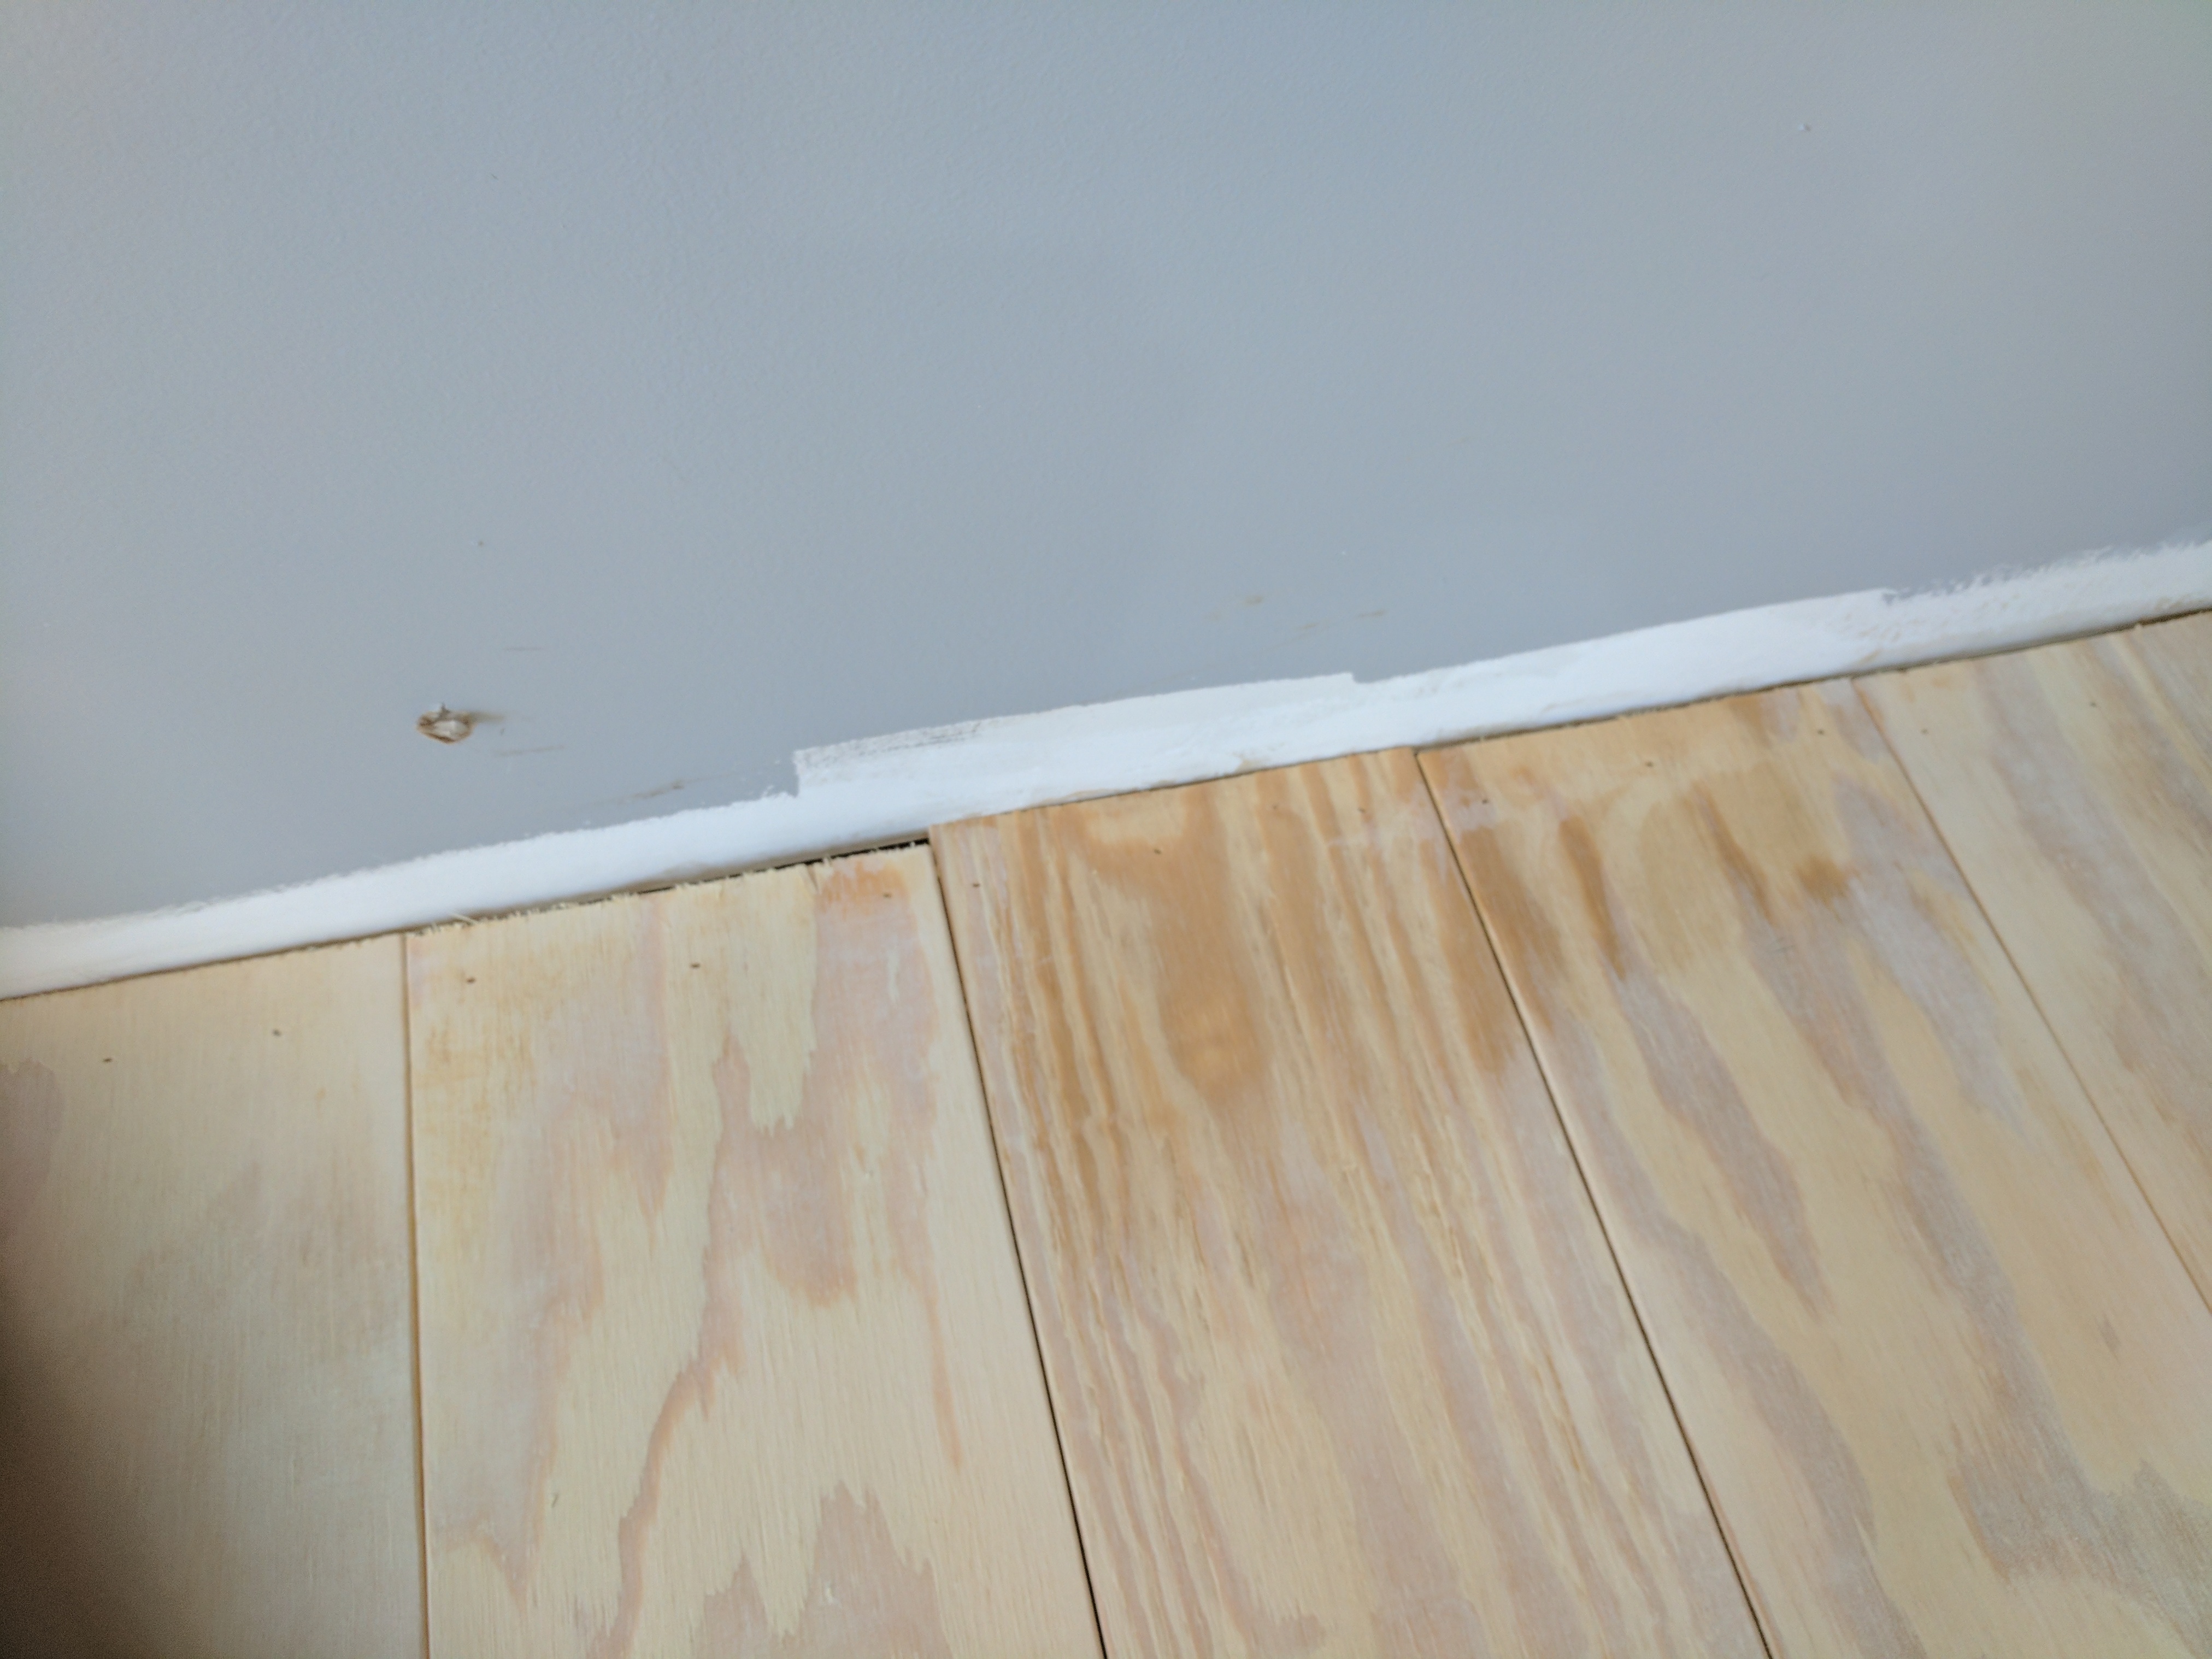
Step 3. Bevel the edges
I wanted to make sure the edges of the boards were smooth. Last thing I wanted was splinters. I thought about sanding the edges, but in my testing, it was faster to route them using a 1/8″ round over. This was time-consuming as I used the router on top of the boards after clamping them down. Next time, I might try to put it in the router table, and make a table extension to help this.
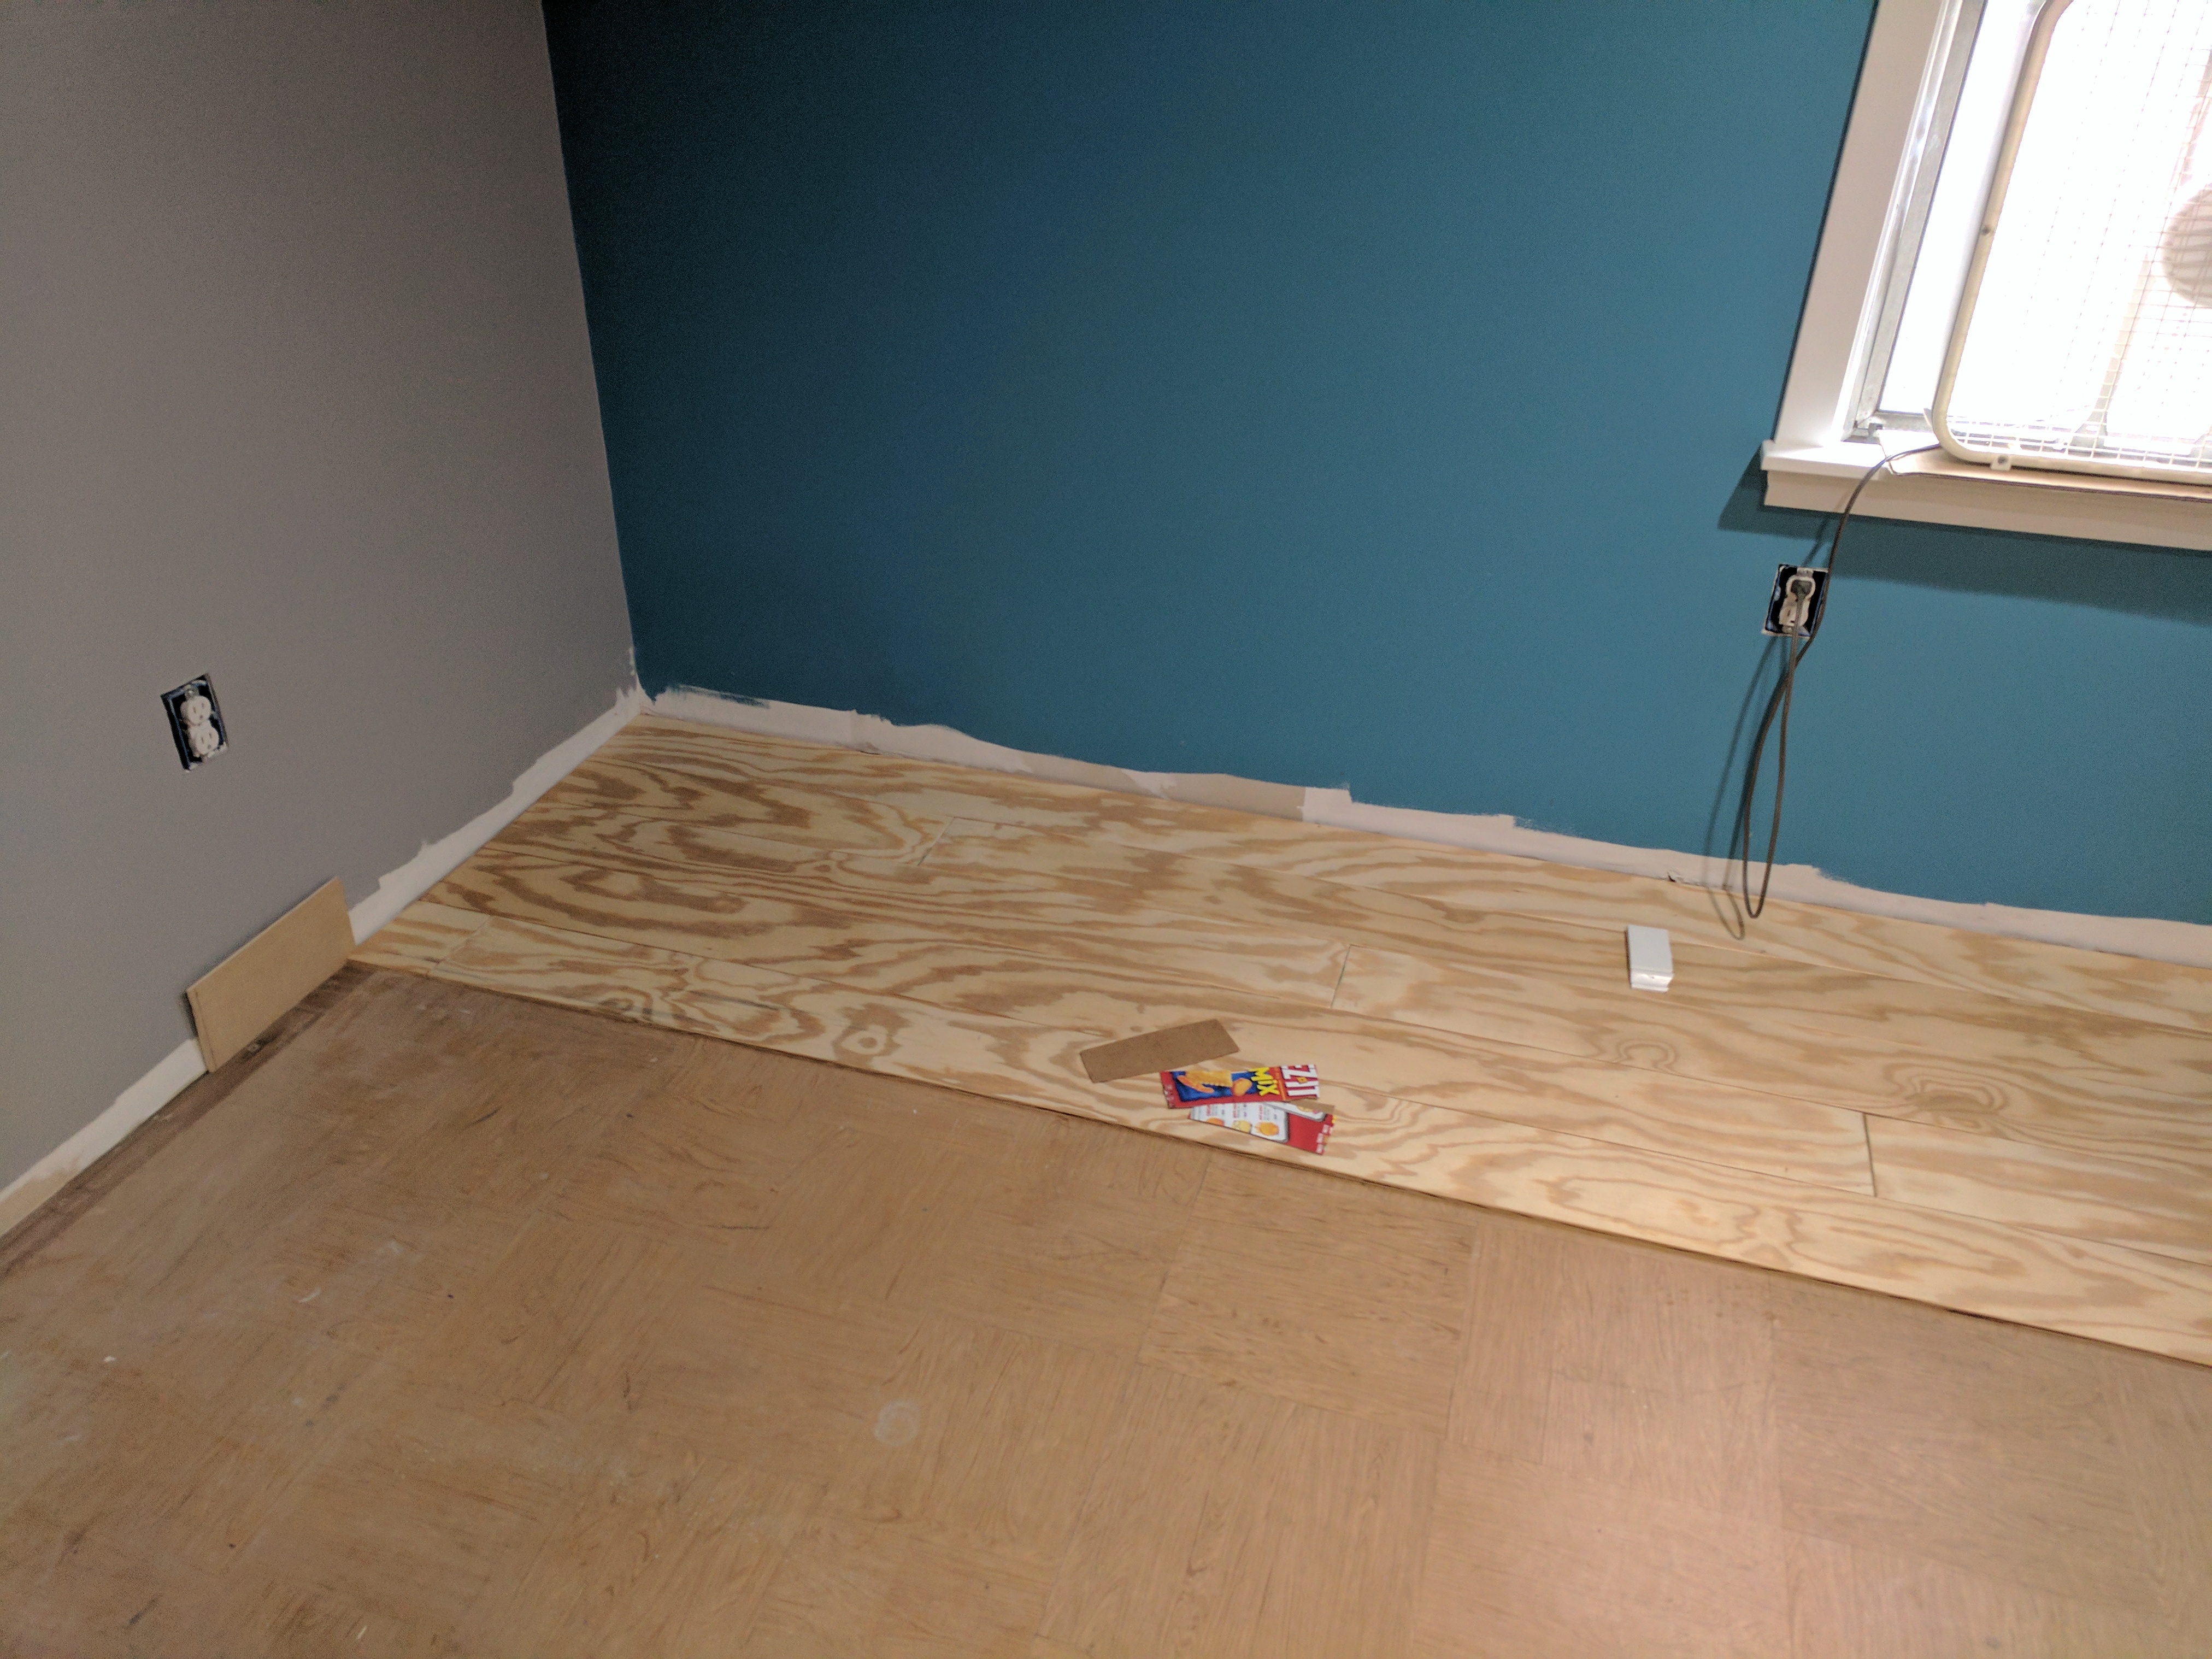
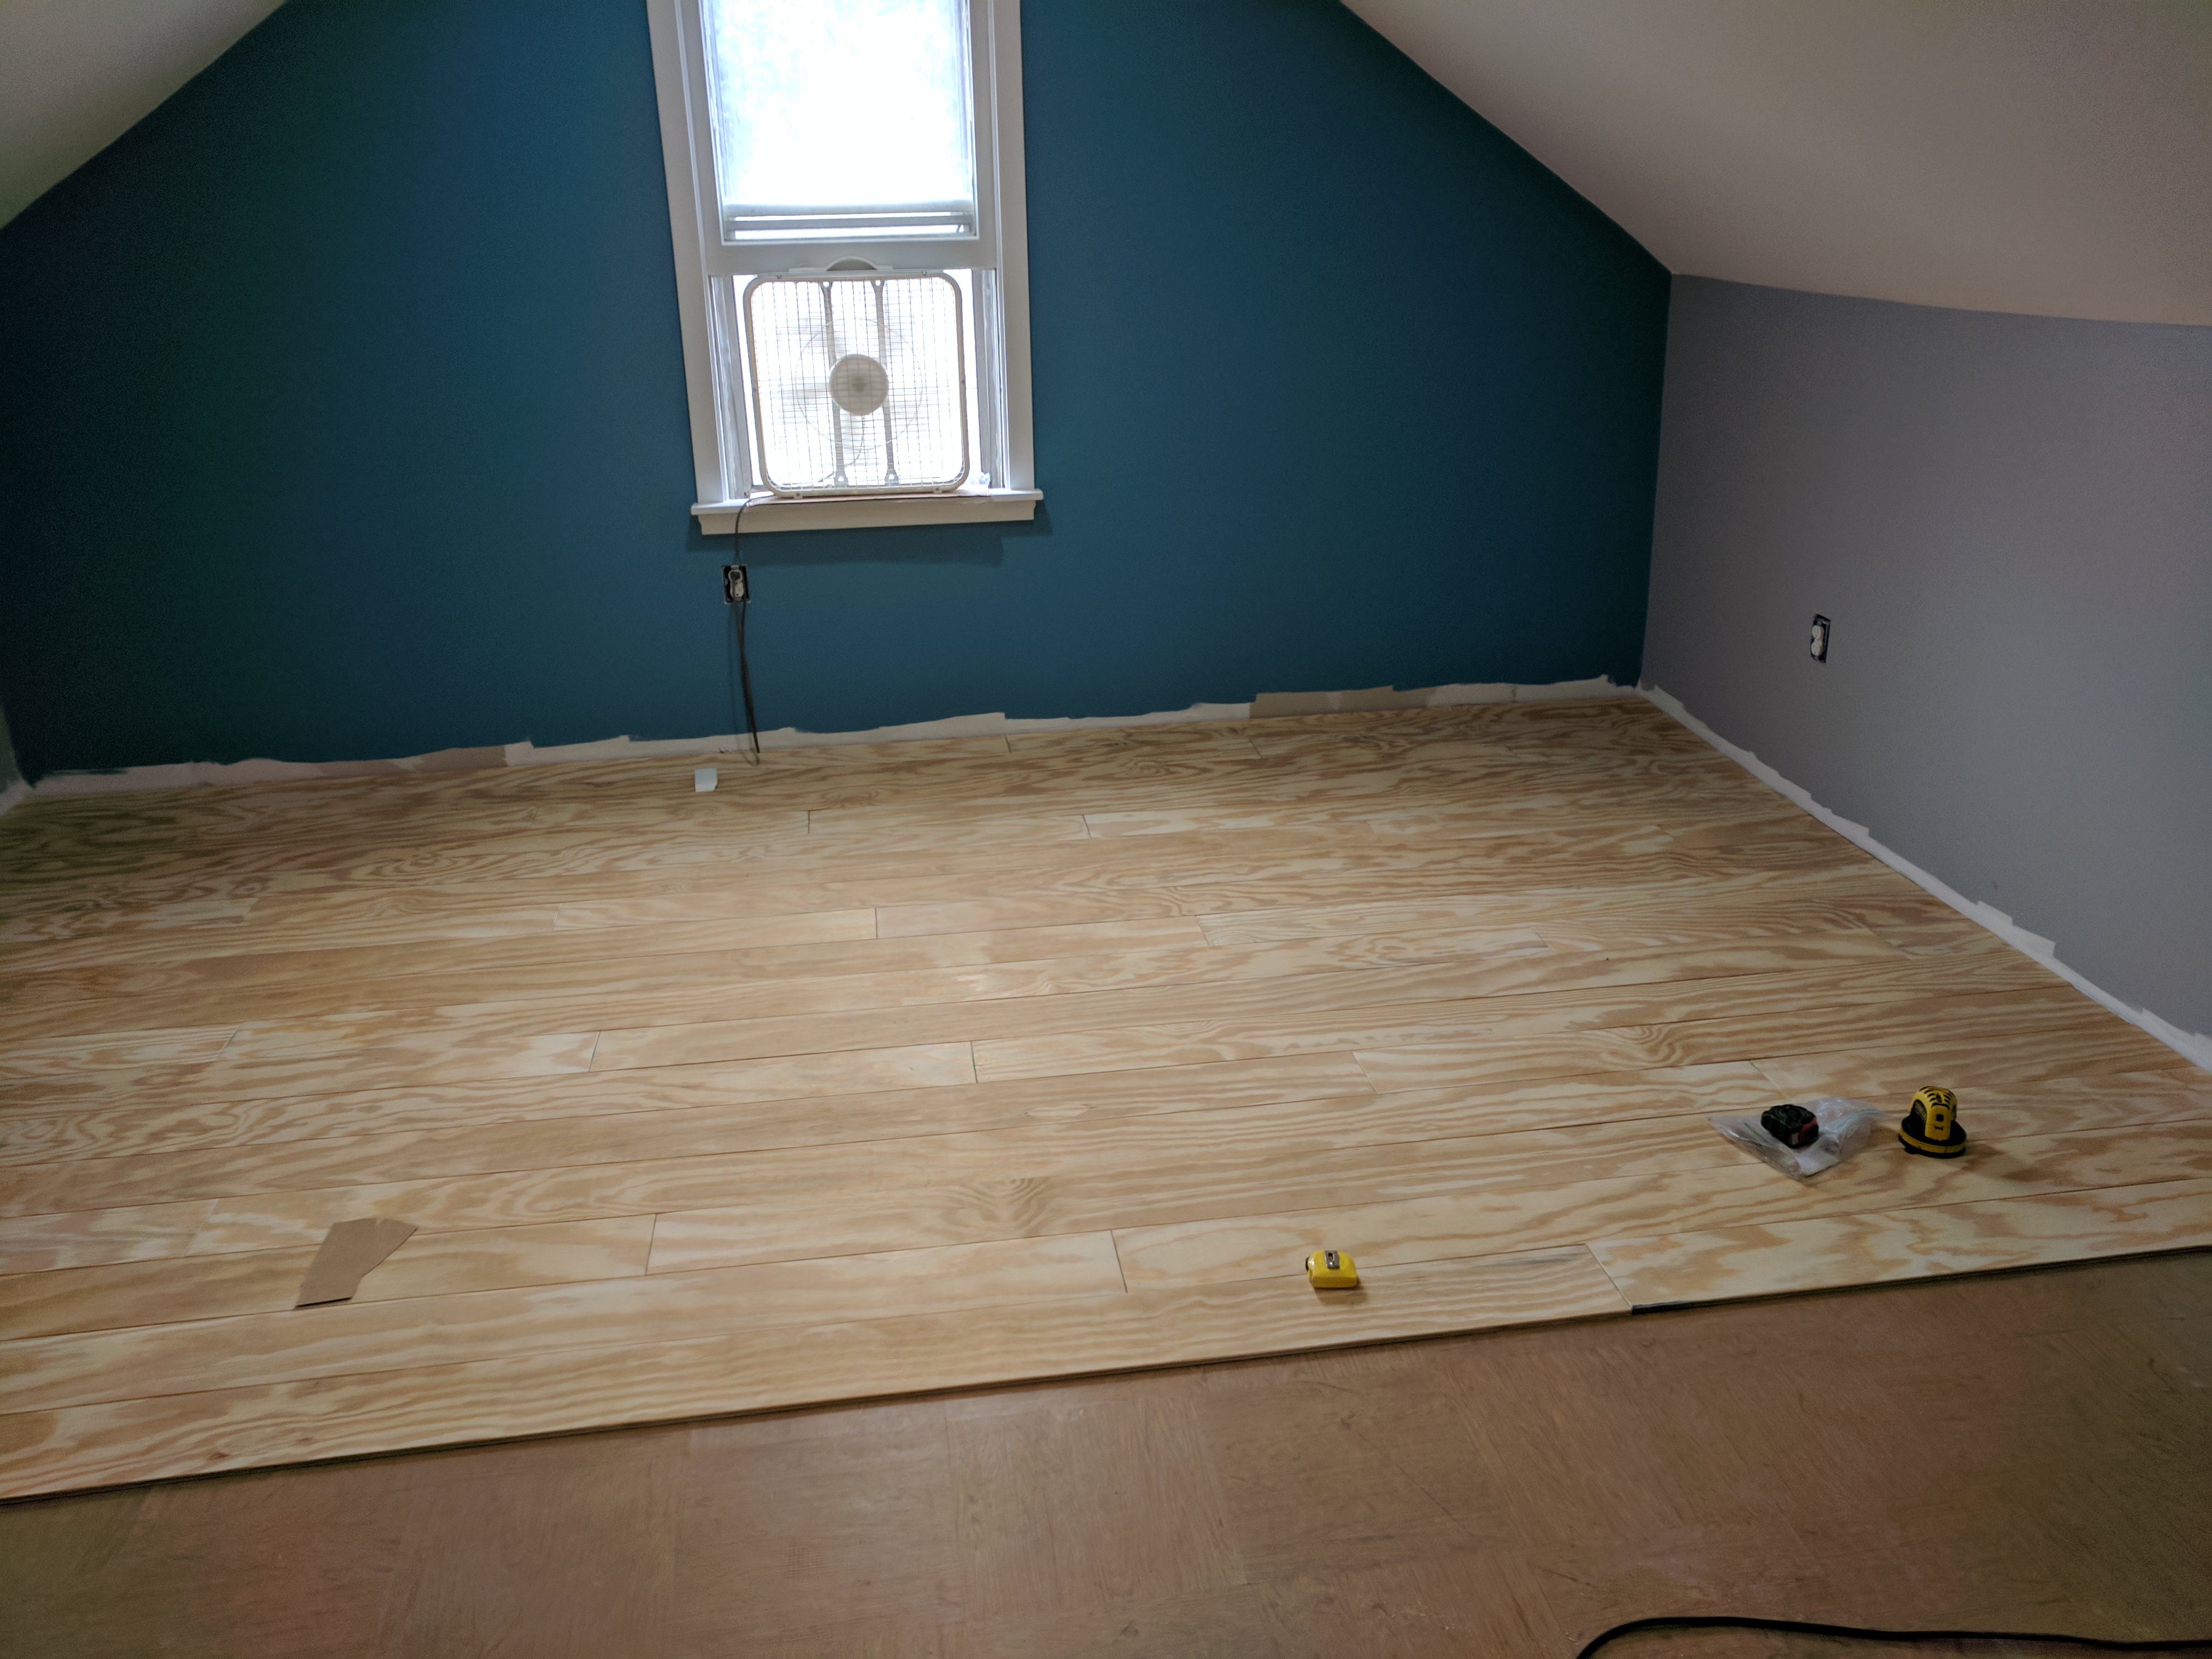
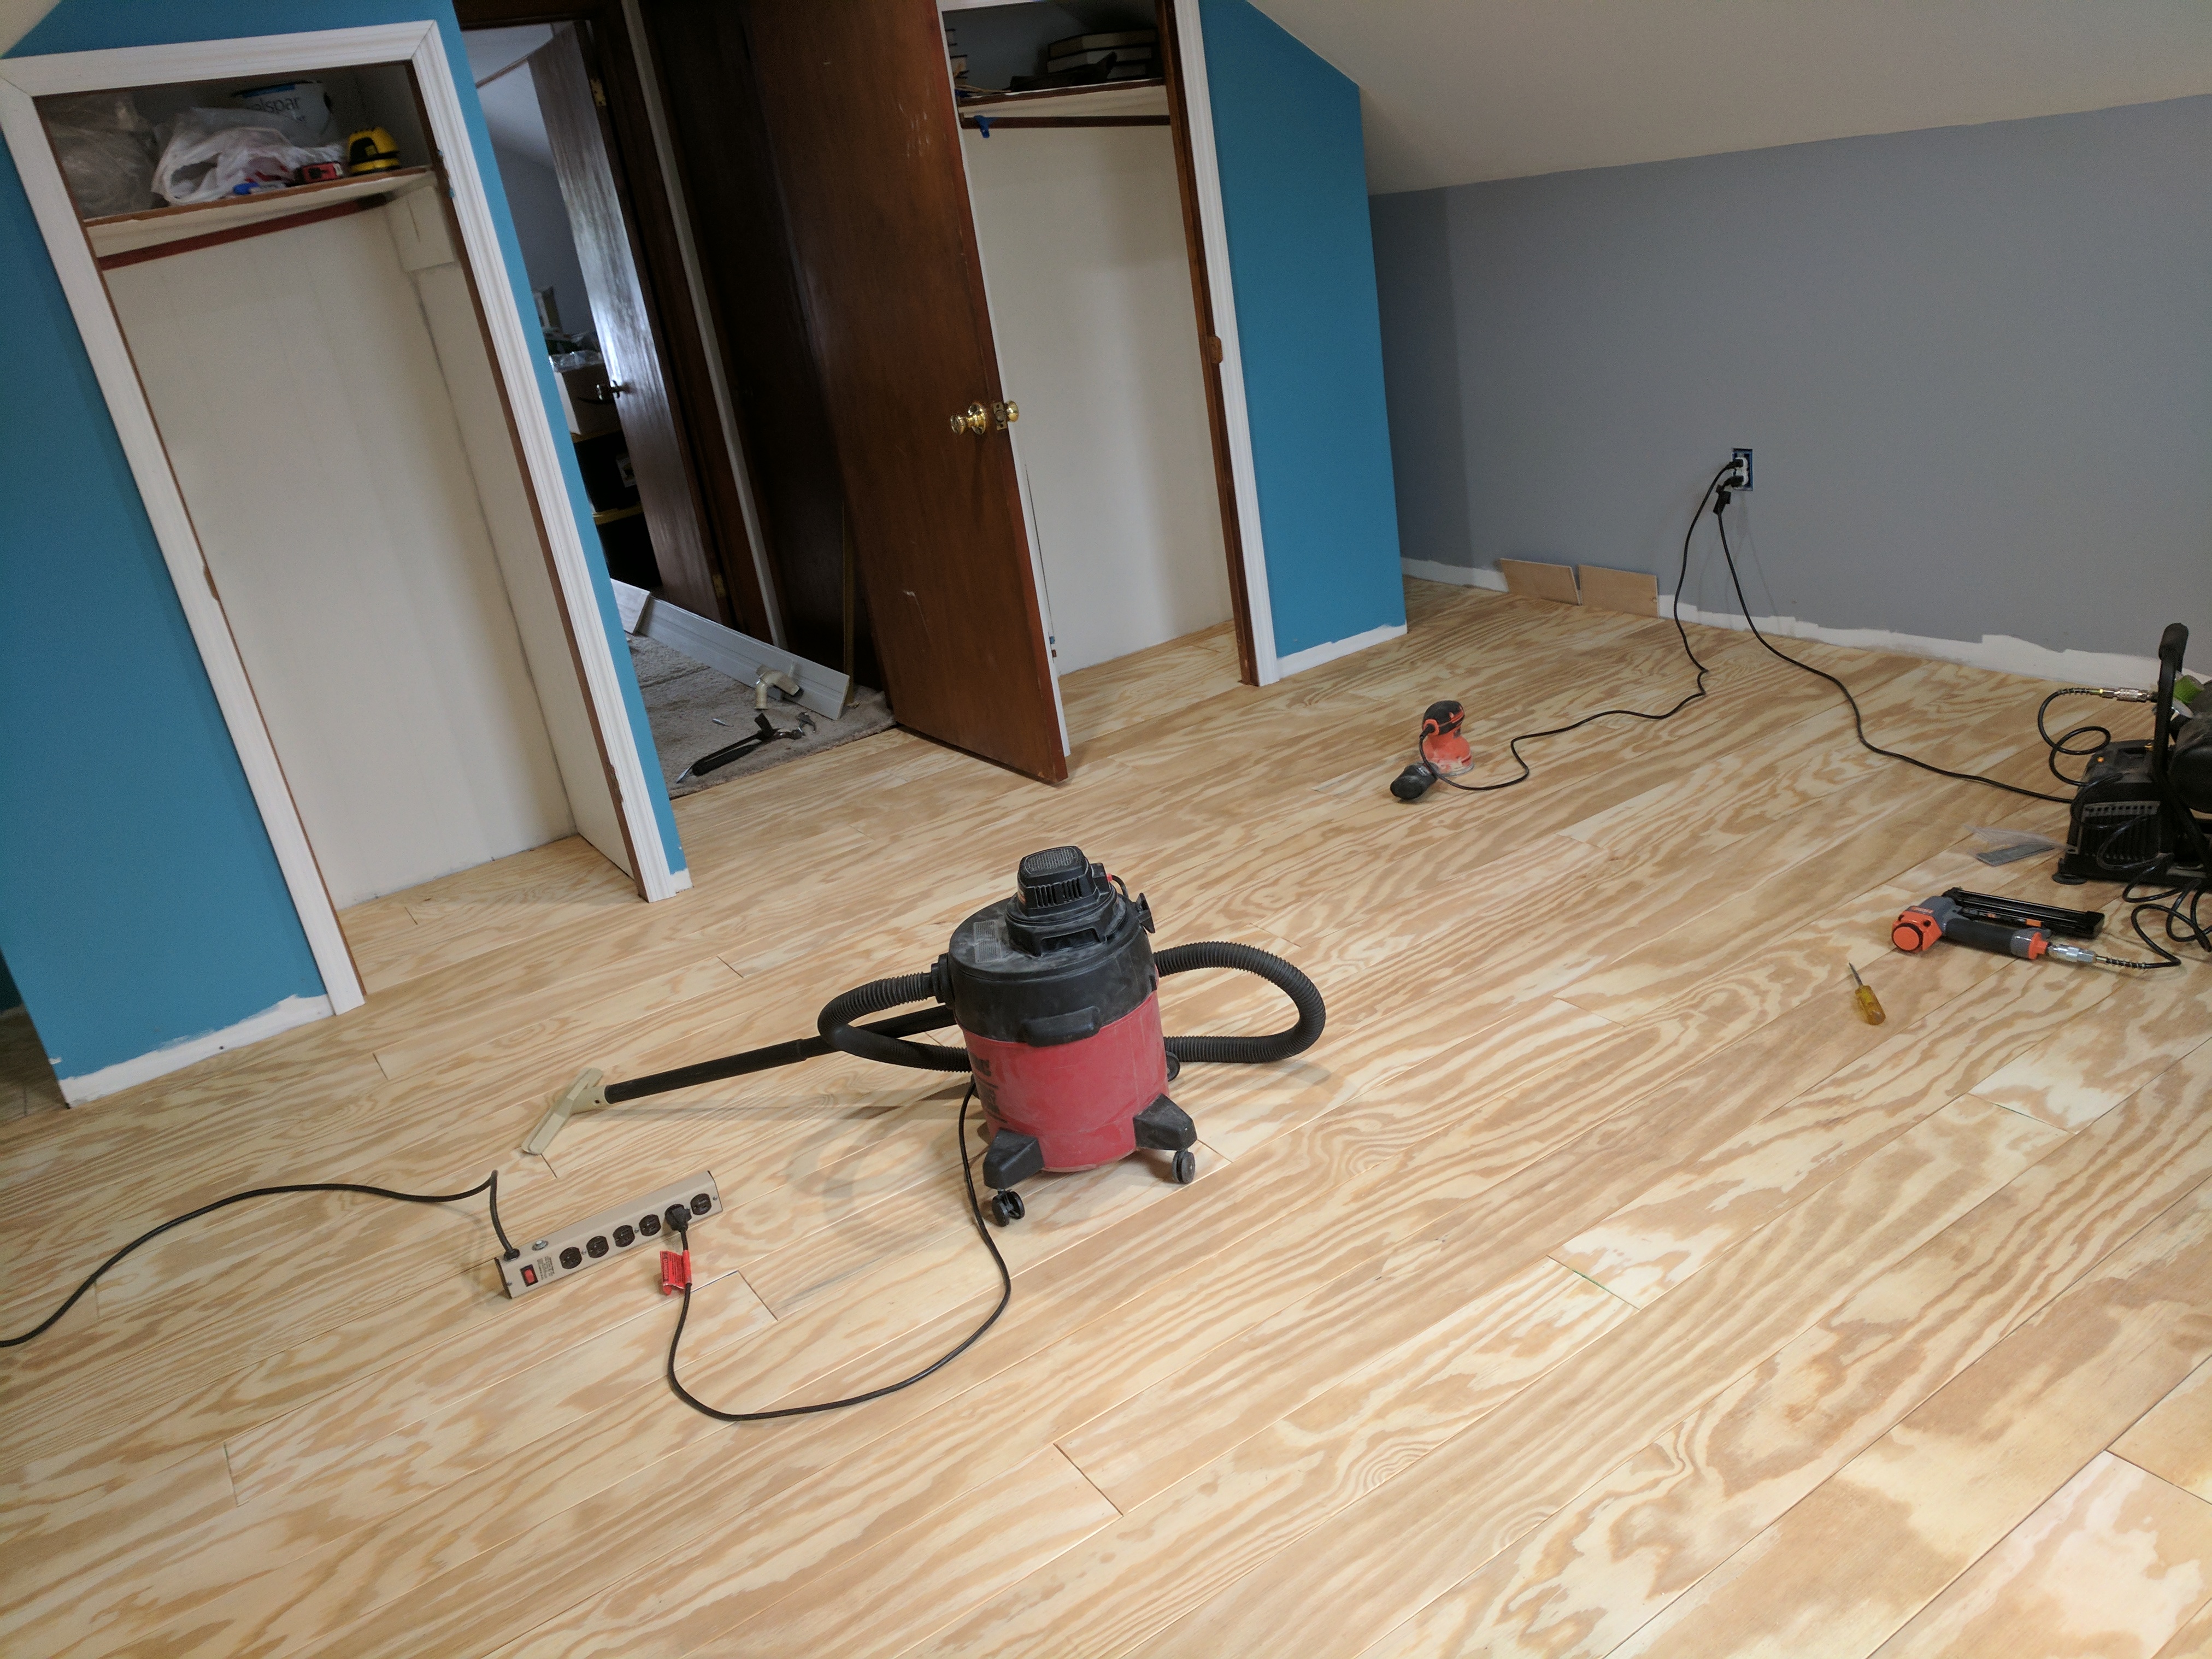
Step 4. Put the floor down
If you’ve ever done laminate floor, I used the same basic process. Started in one corner, when we got to the other end, measured the distance needed, cut a plank (using a jigsaw in the room [little mess] especially since that cut will be hidden by floor trim). The leftover plank is then used to start the next row (hence, the cut end is hidden by that trim as well).
I used 1″ finishing nails – nailed from the top. 3 in each end, a few in the middle to keep it flat. Also did a slight angle – to help reduce future pull out. I did put a little space in between the boards.
Measure often so it doesn’t get off square.

Step 5. White wash the boards
To help prevent the yellow of the natural wood showing through, we put a white wash down first. I used some ceiling paint I had bought but hated! (it was Glidden brand) Watered it down a lot, put it on with some large brushes.
Step 6. Gray wash the boards
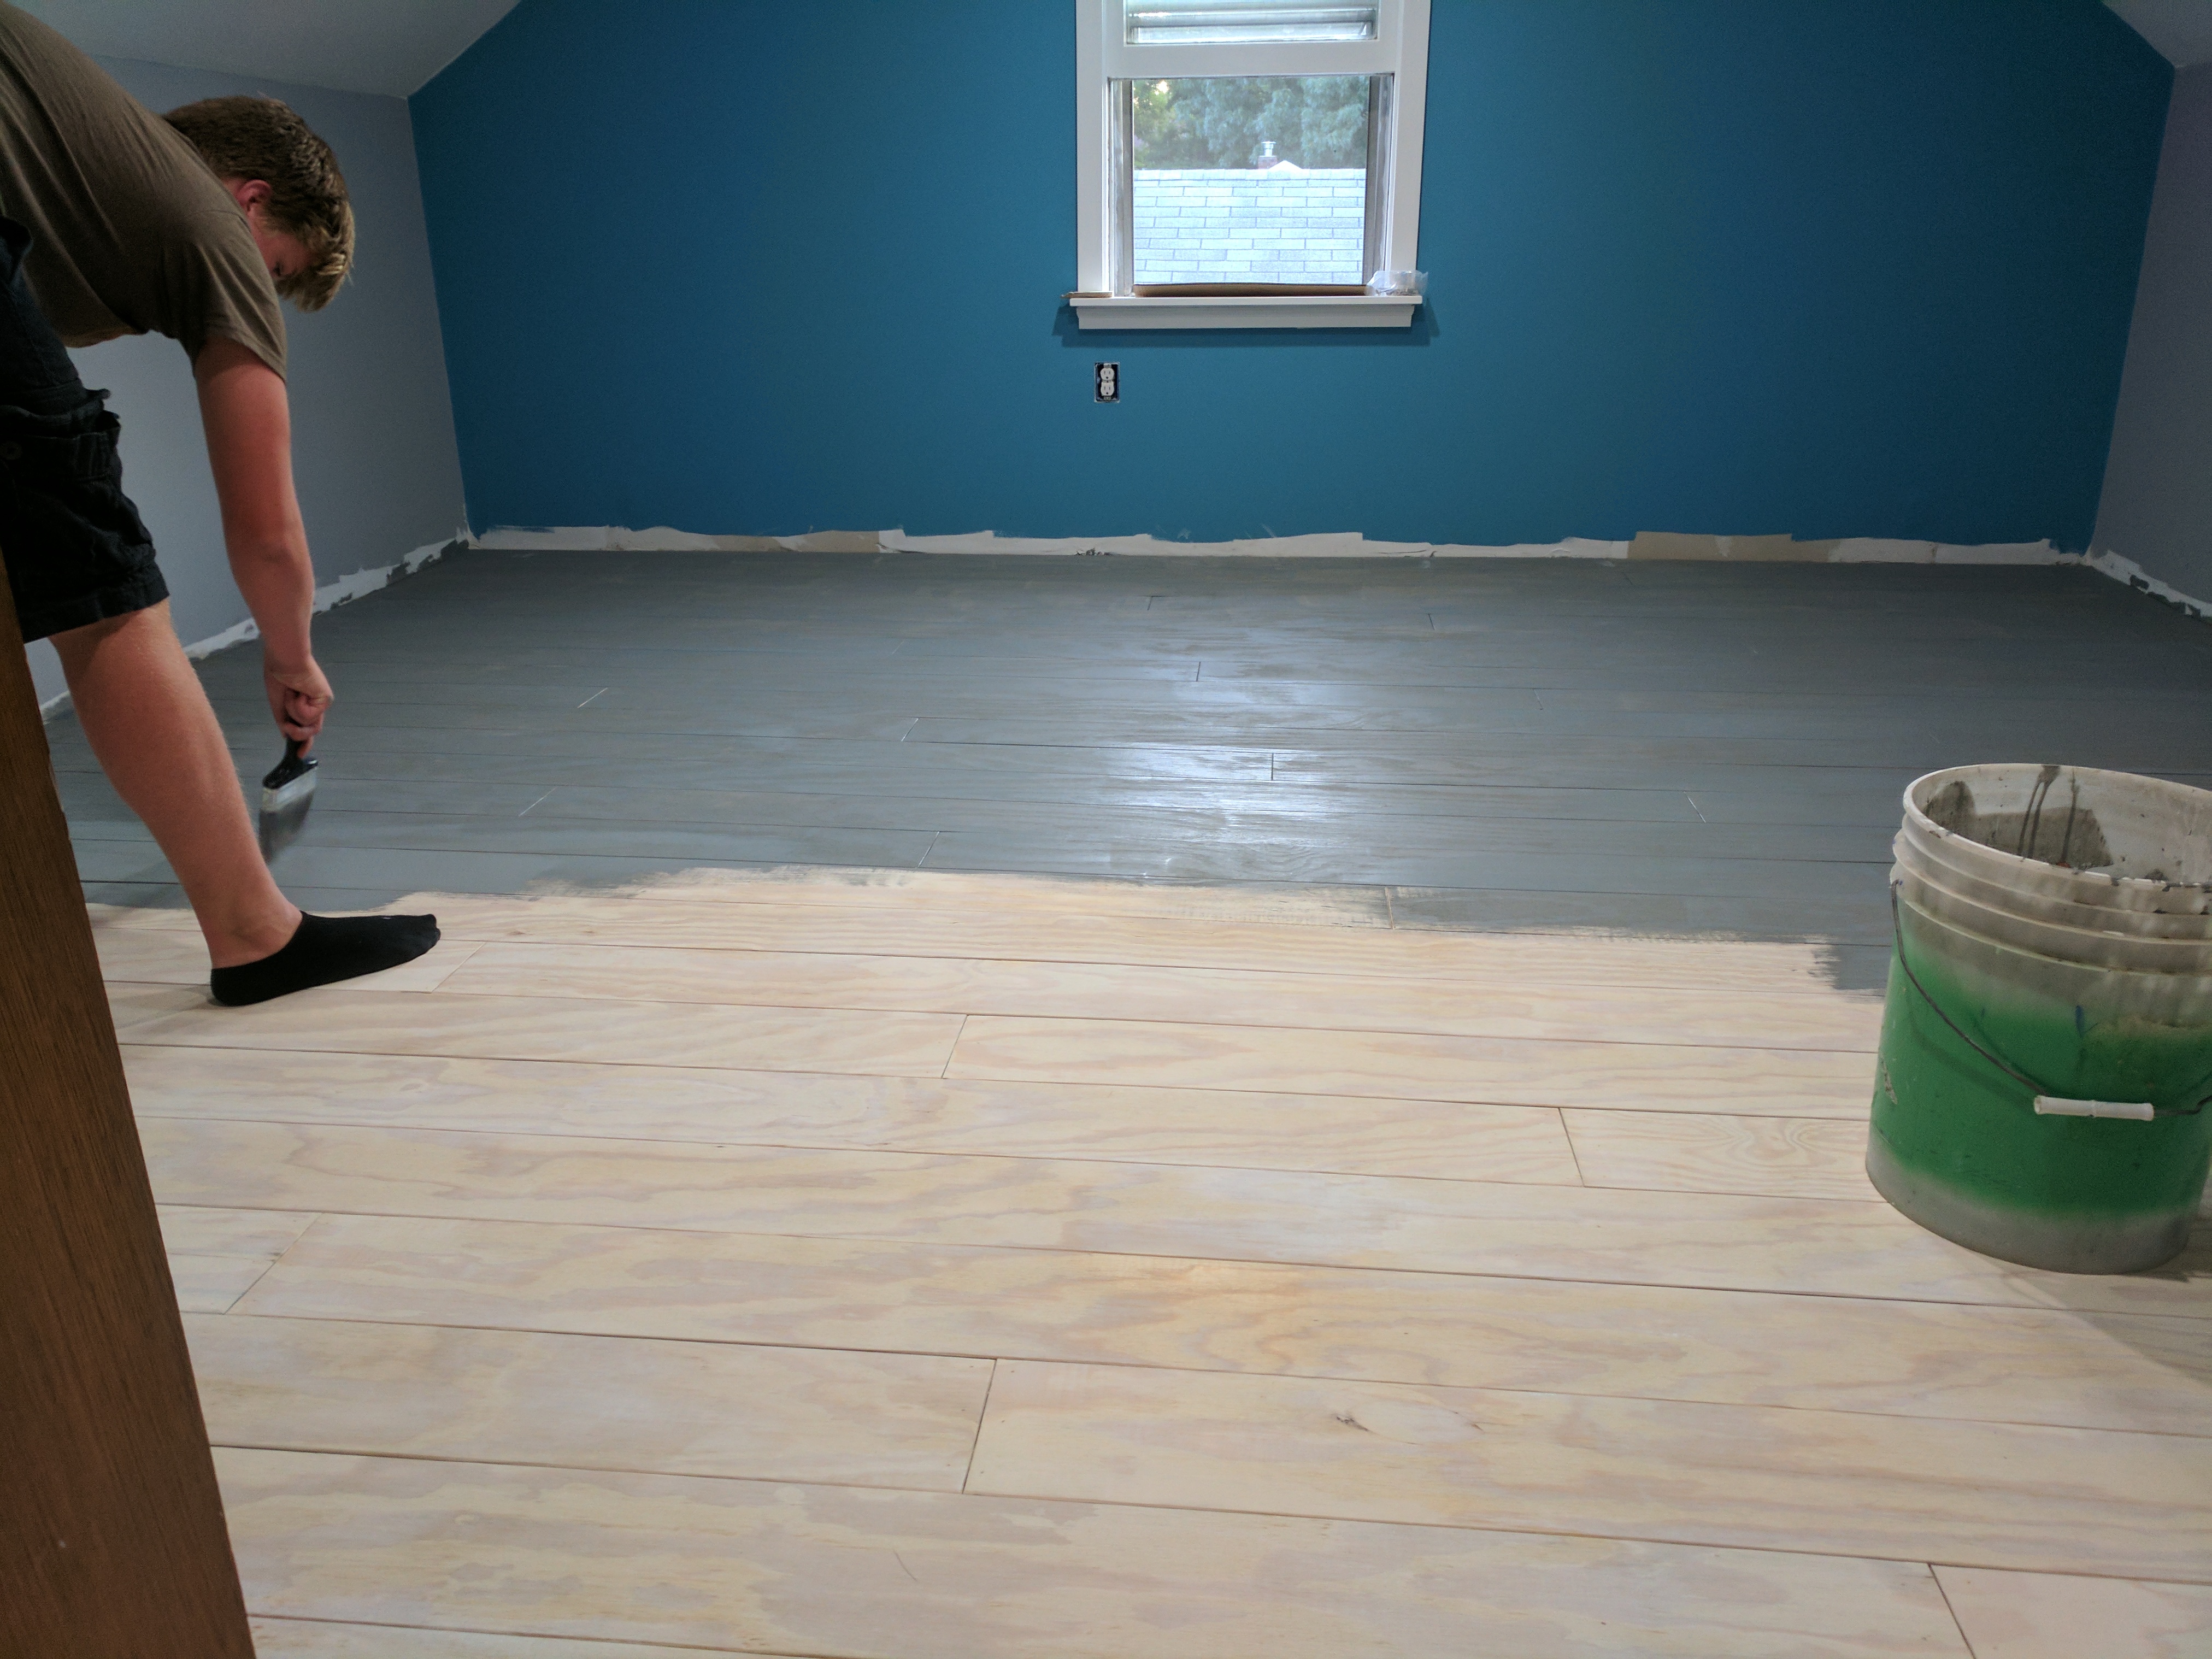
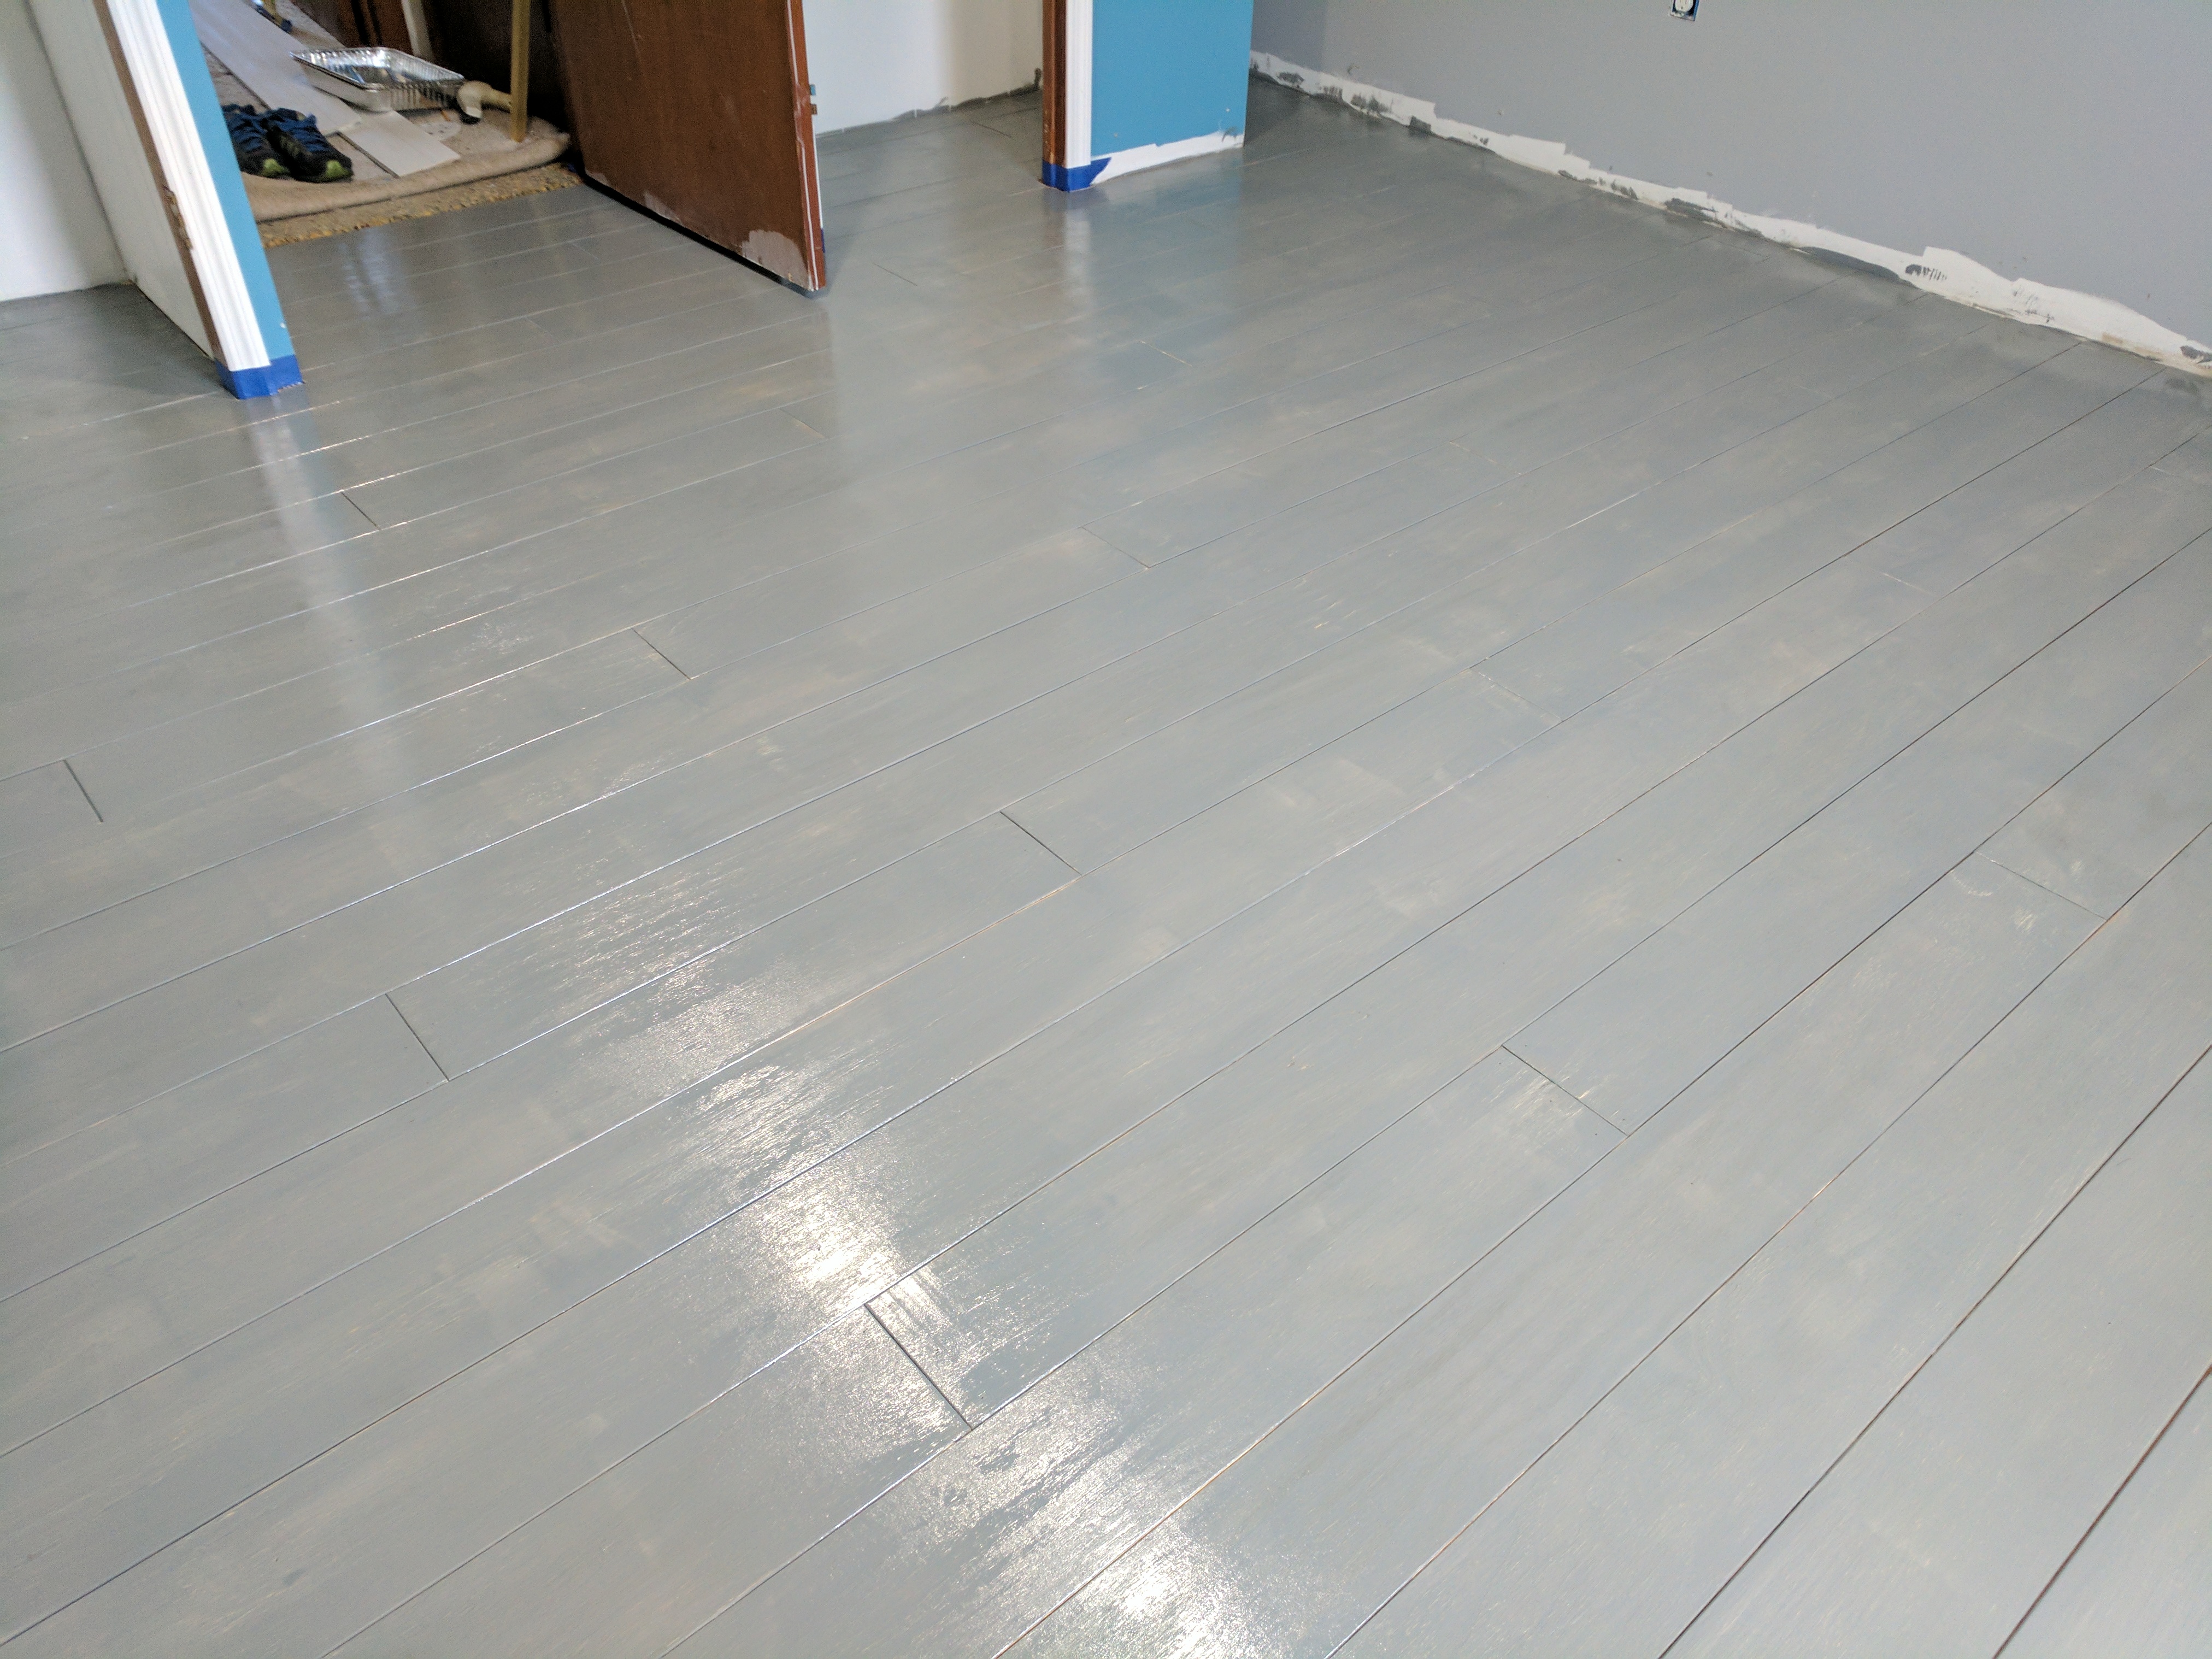
Using some eggshell gray paint, watered down A TON, we put this on next. You could still see a bit of wood through it. My plan was to sand this a bit after, so it’s okay if it was a little dark. I could have easily used 1 quart of paint for this 13 x 16 room.
I didn’t use a roller: I didn’t want that roller texture.
My son did the left half, I did the right half.
Step 7. Sand the Gray a bit
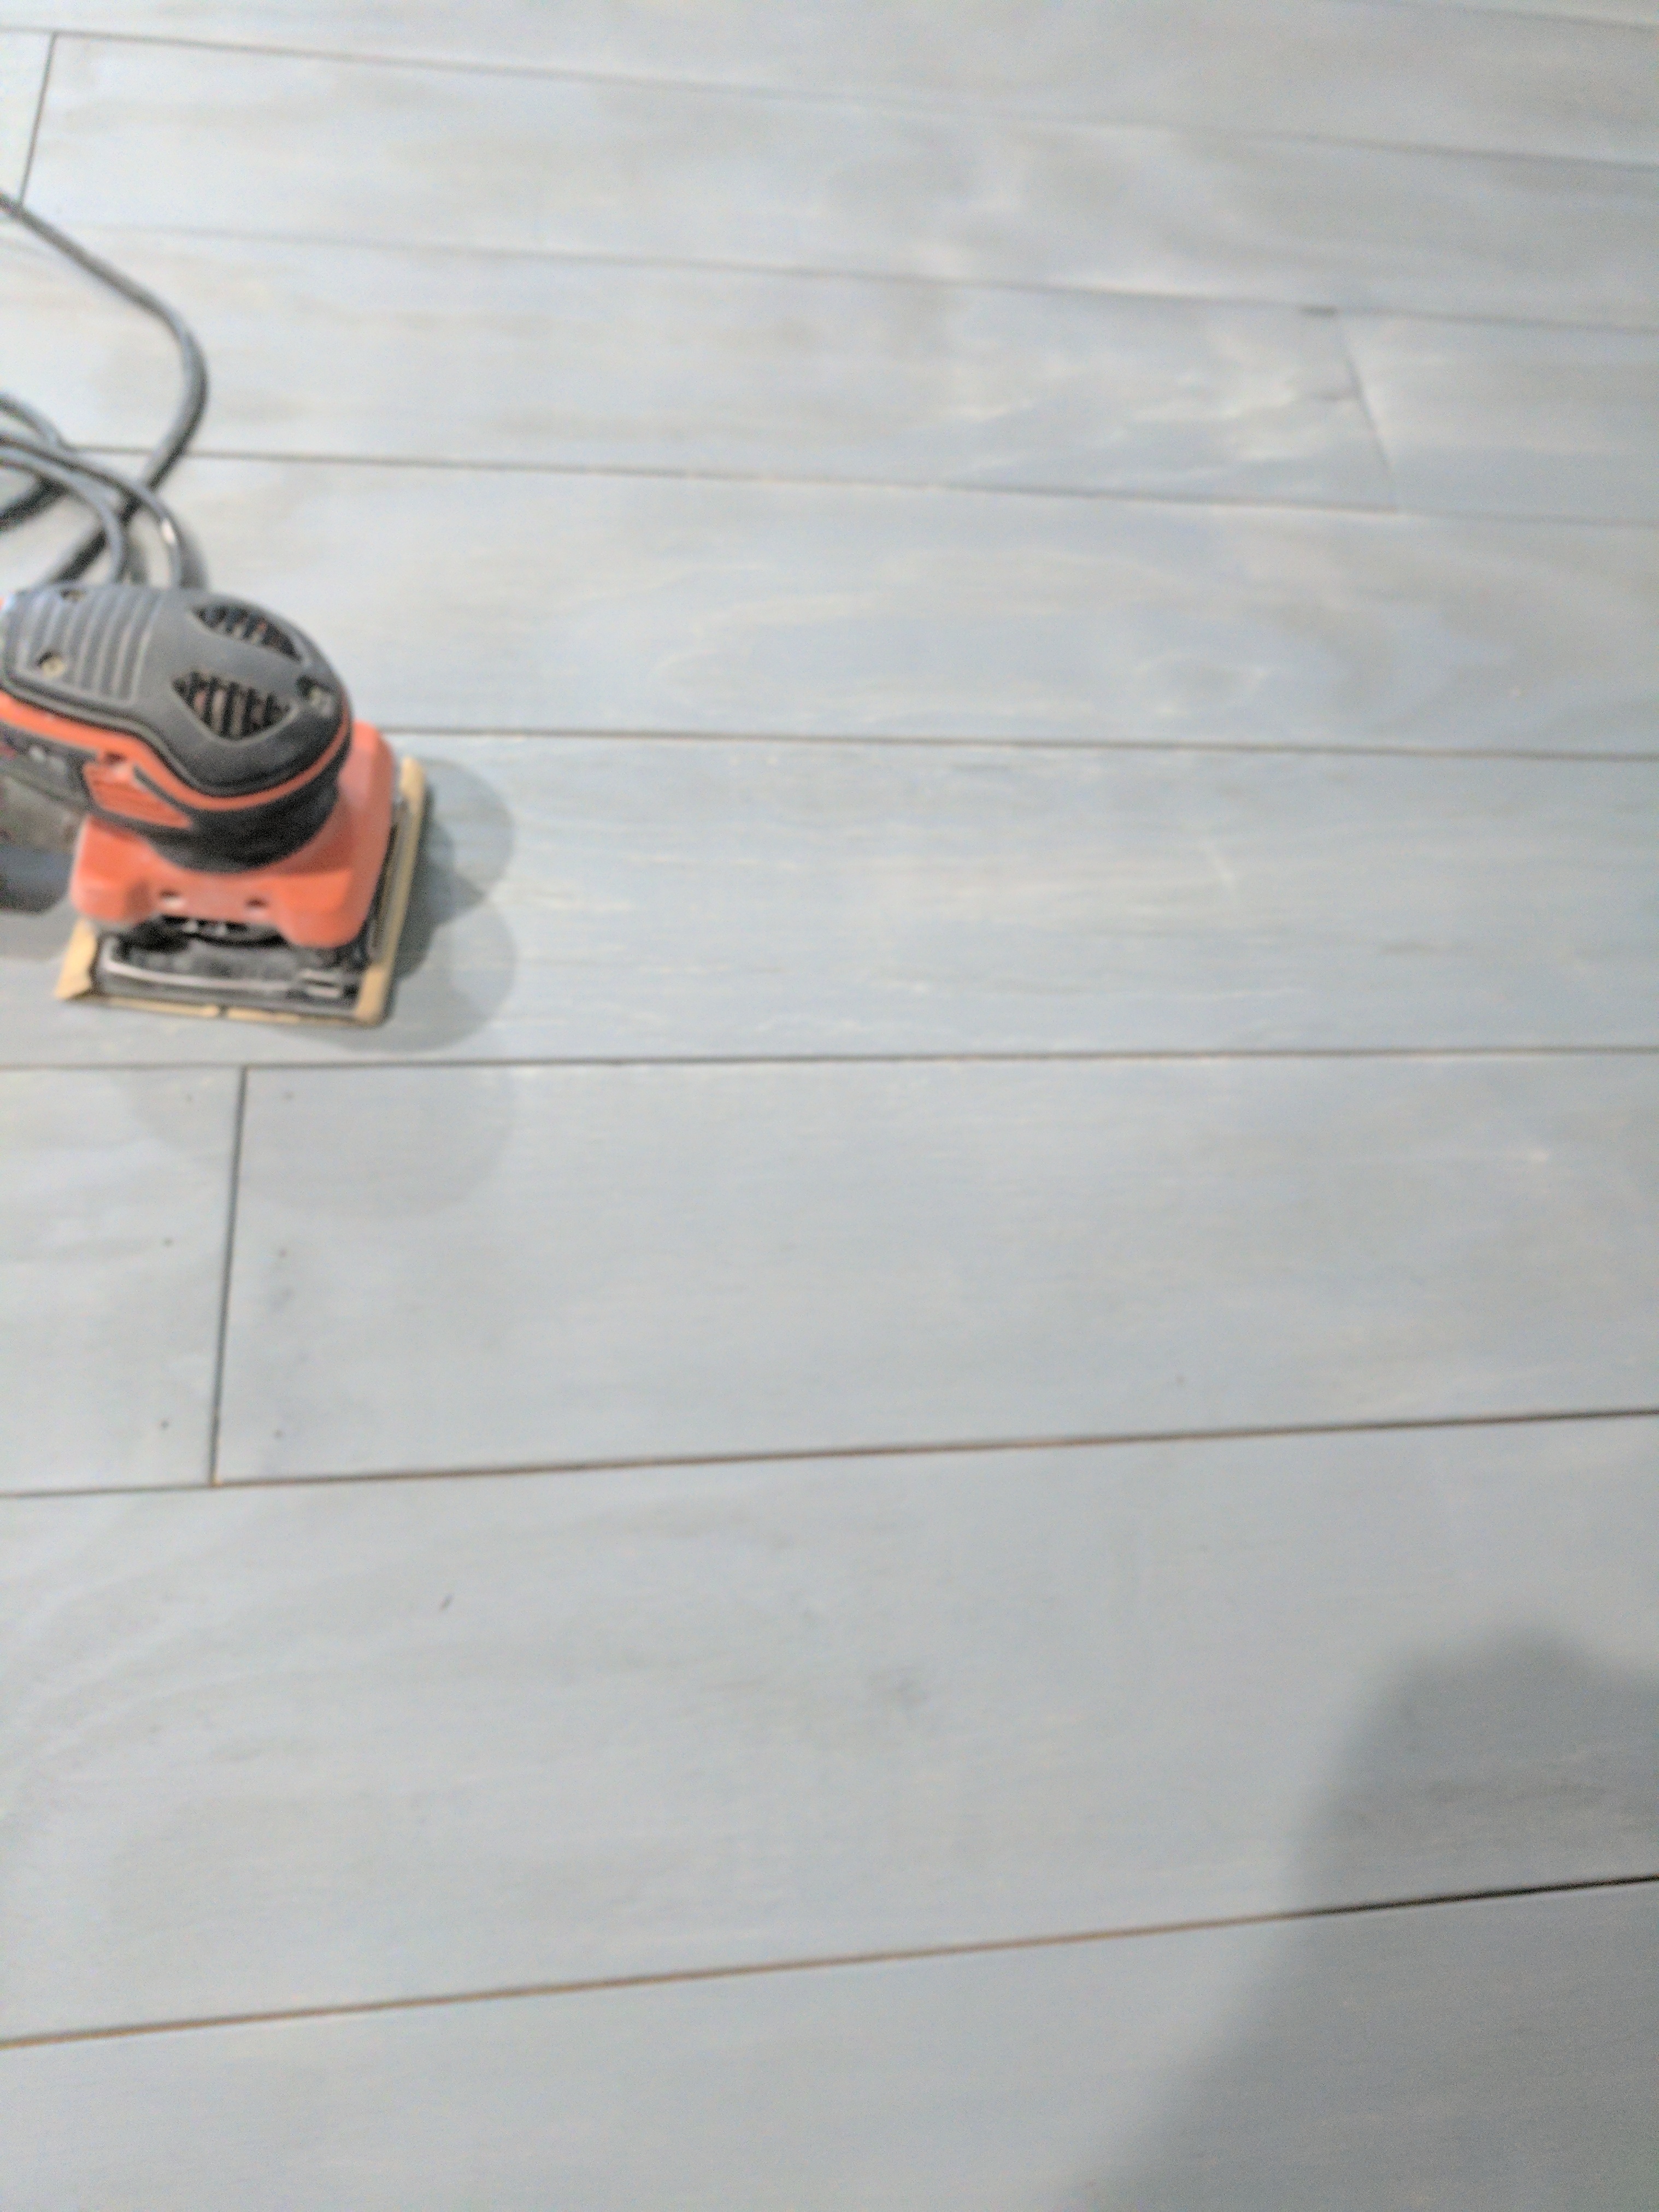 After the gray was dry (a day), using the finished sander we went around and added some grain and character. I spent a little more time at where the planks ends met. This was quick to do.
Make sure to clean up your dust after.
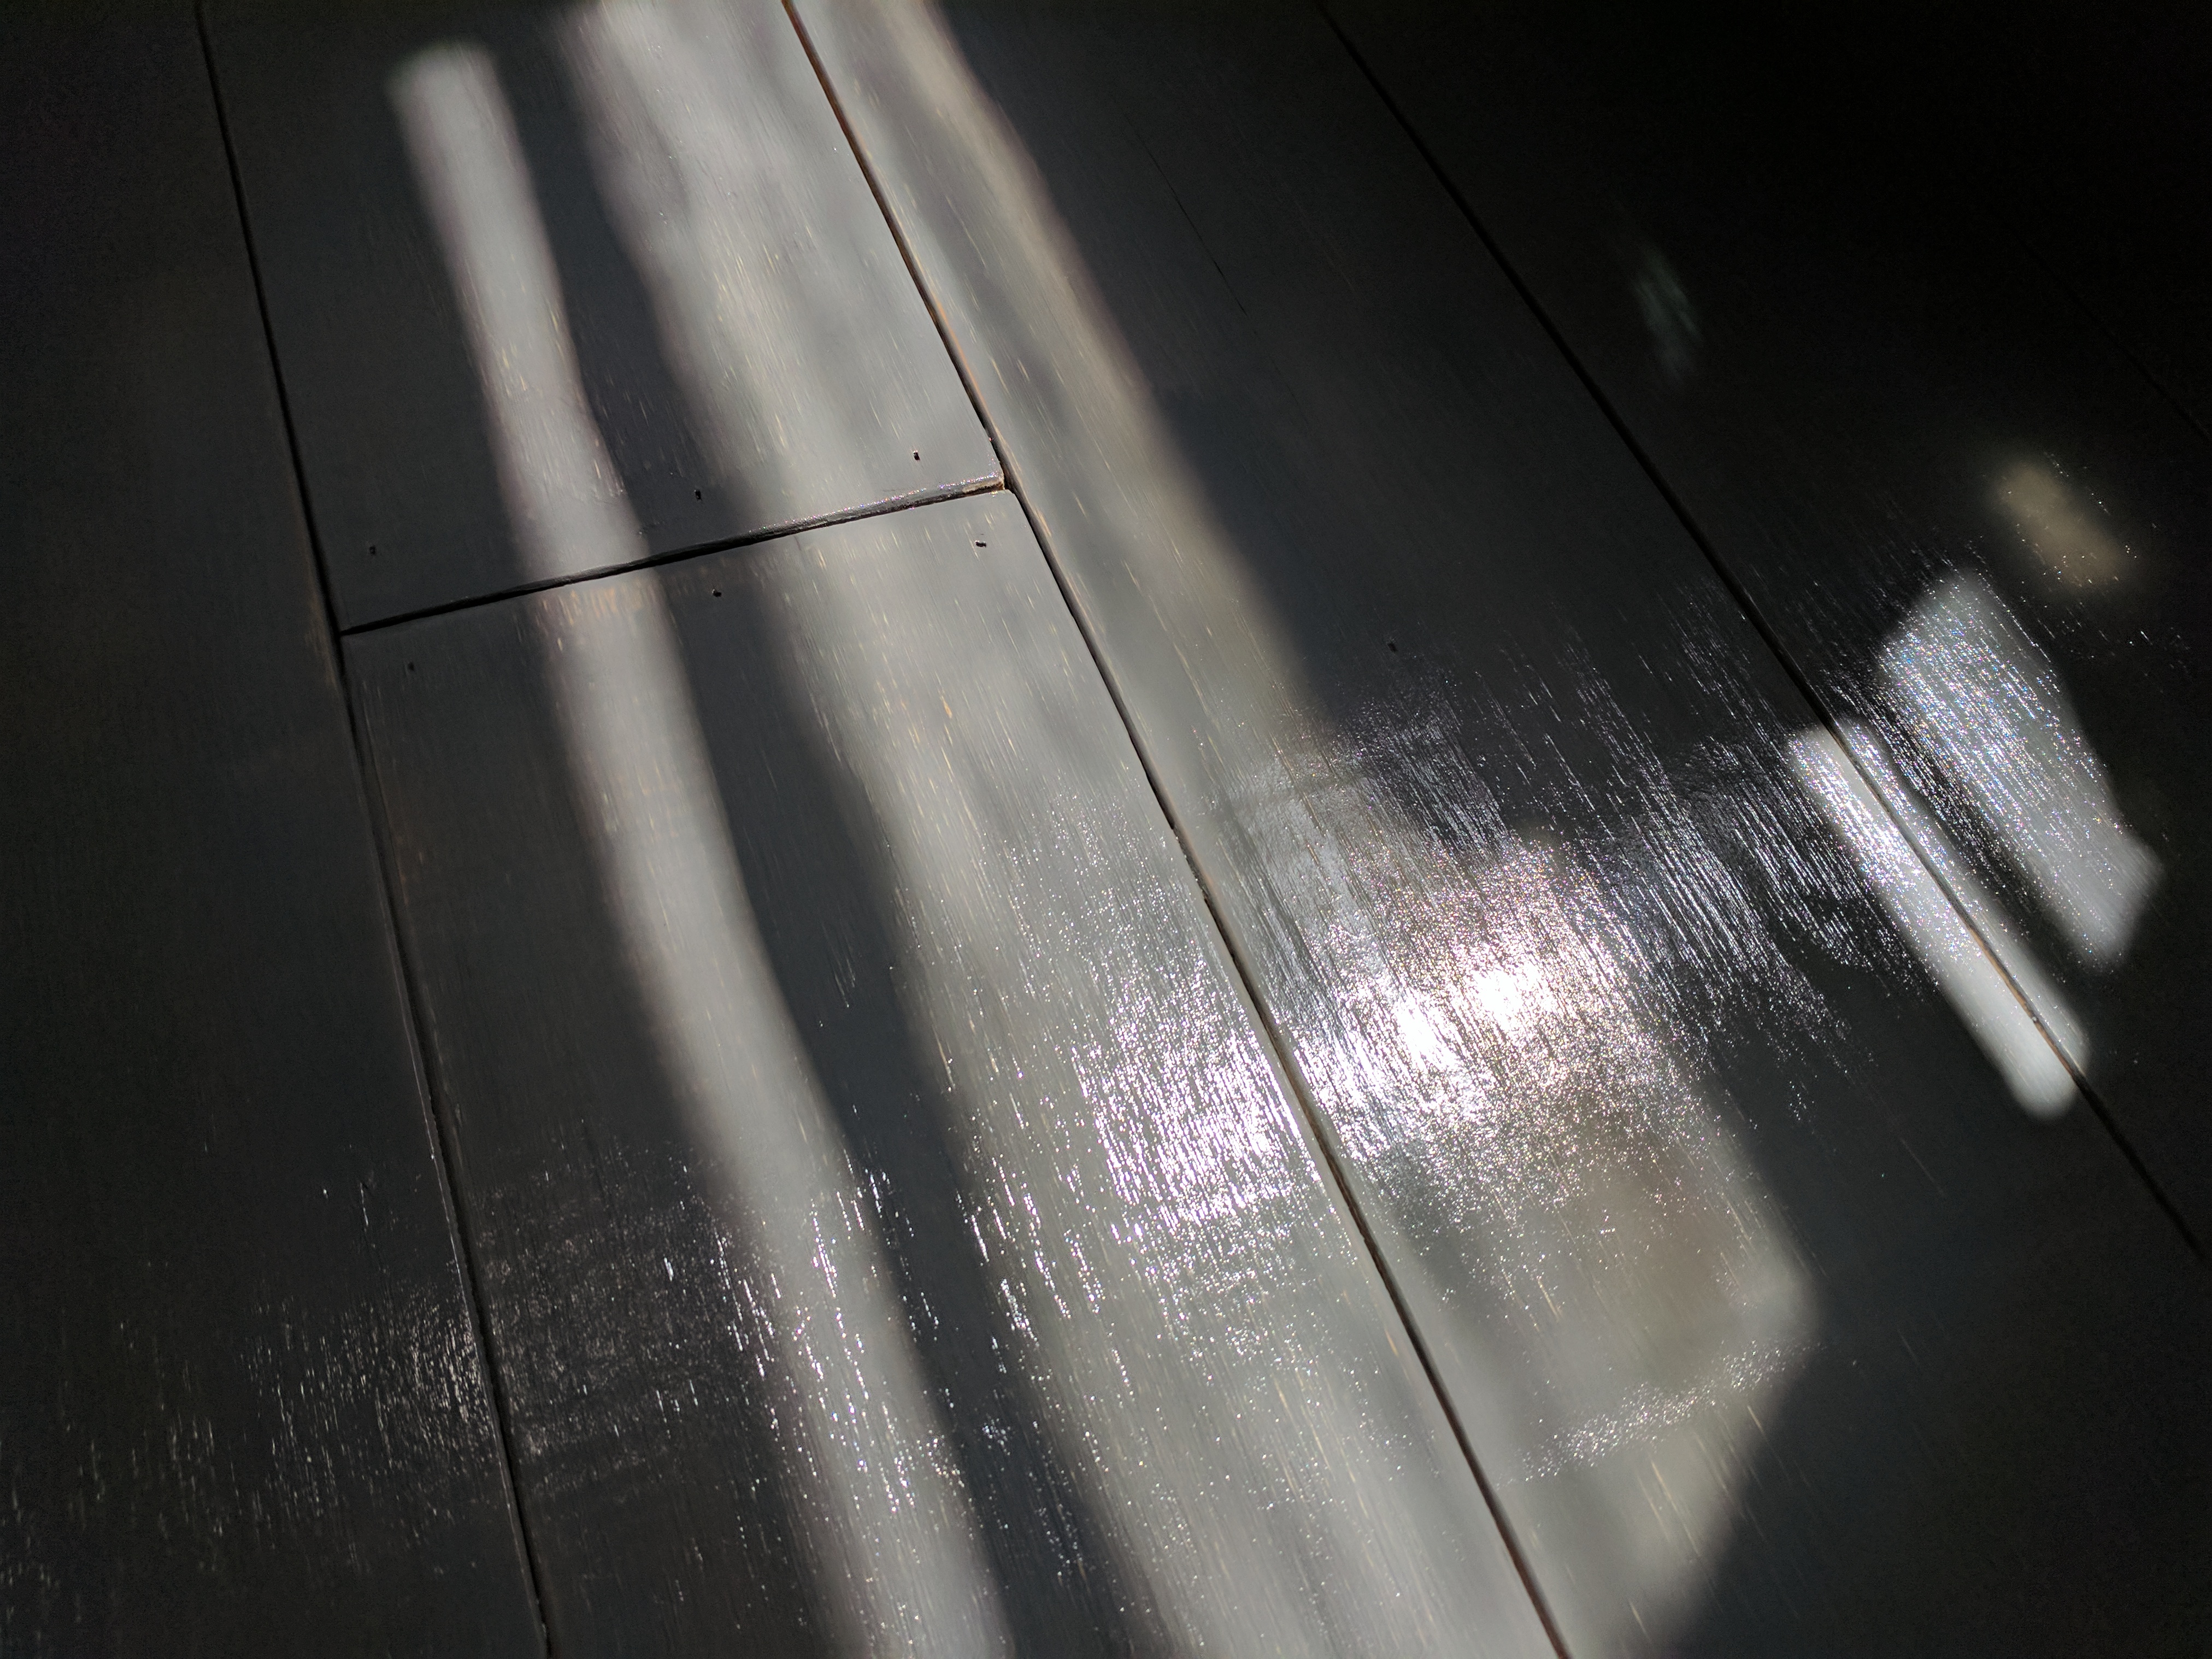
Step 8. Apply Polyurethane
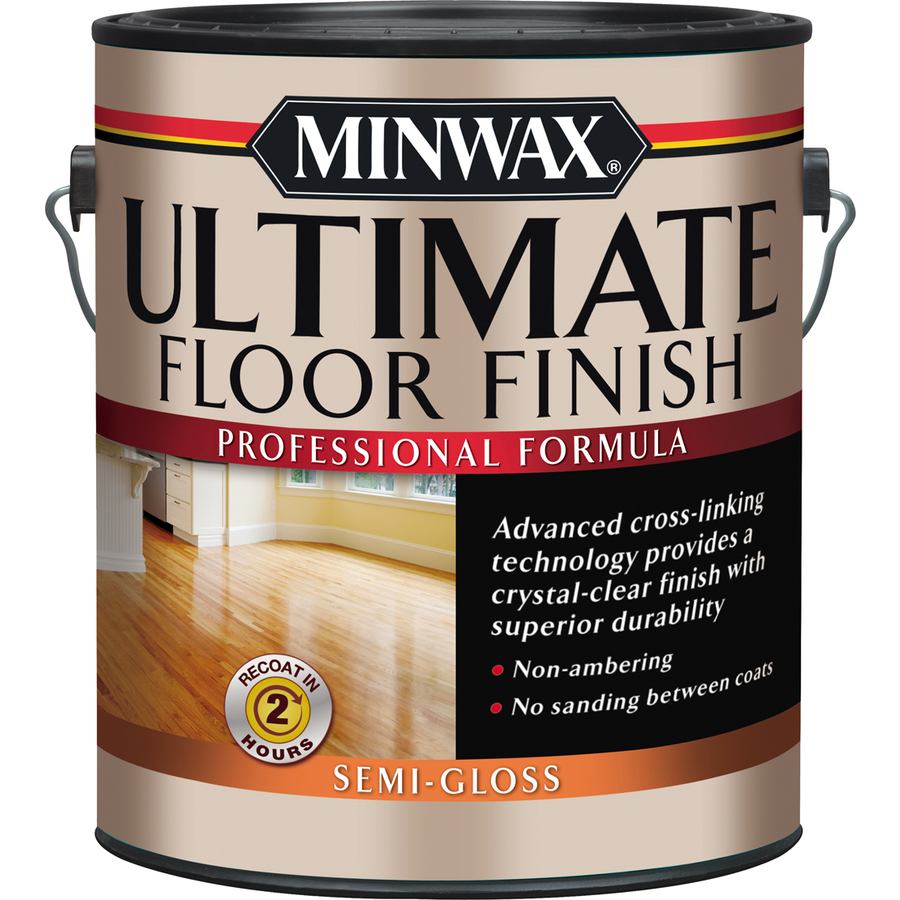 After a bunch of research, I decided to finish the floor with Minwax Semi-Gloss Water-Based Polyurethane. Yes, it was more expensive ($64 / gallon) than I hoped, but the 2 hours between coating without having to sand was enough to entice me. I only need 1 gallon.
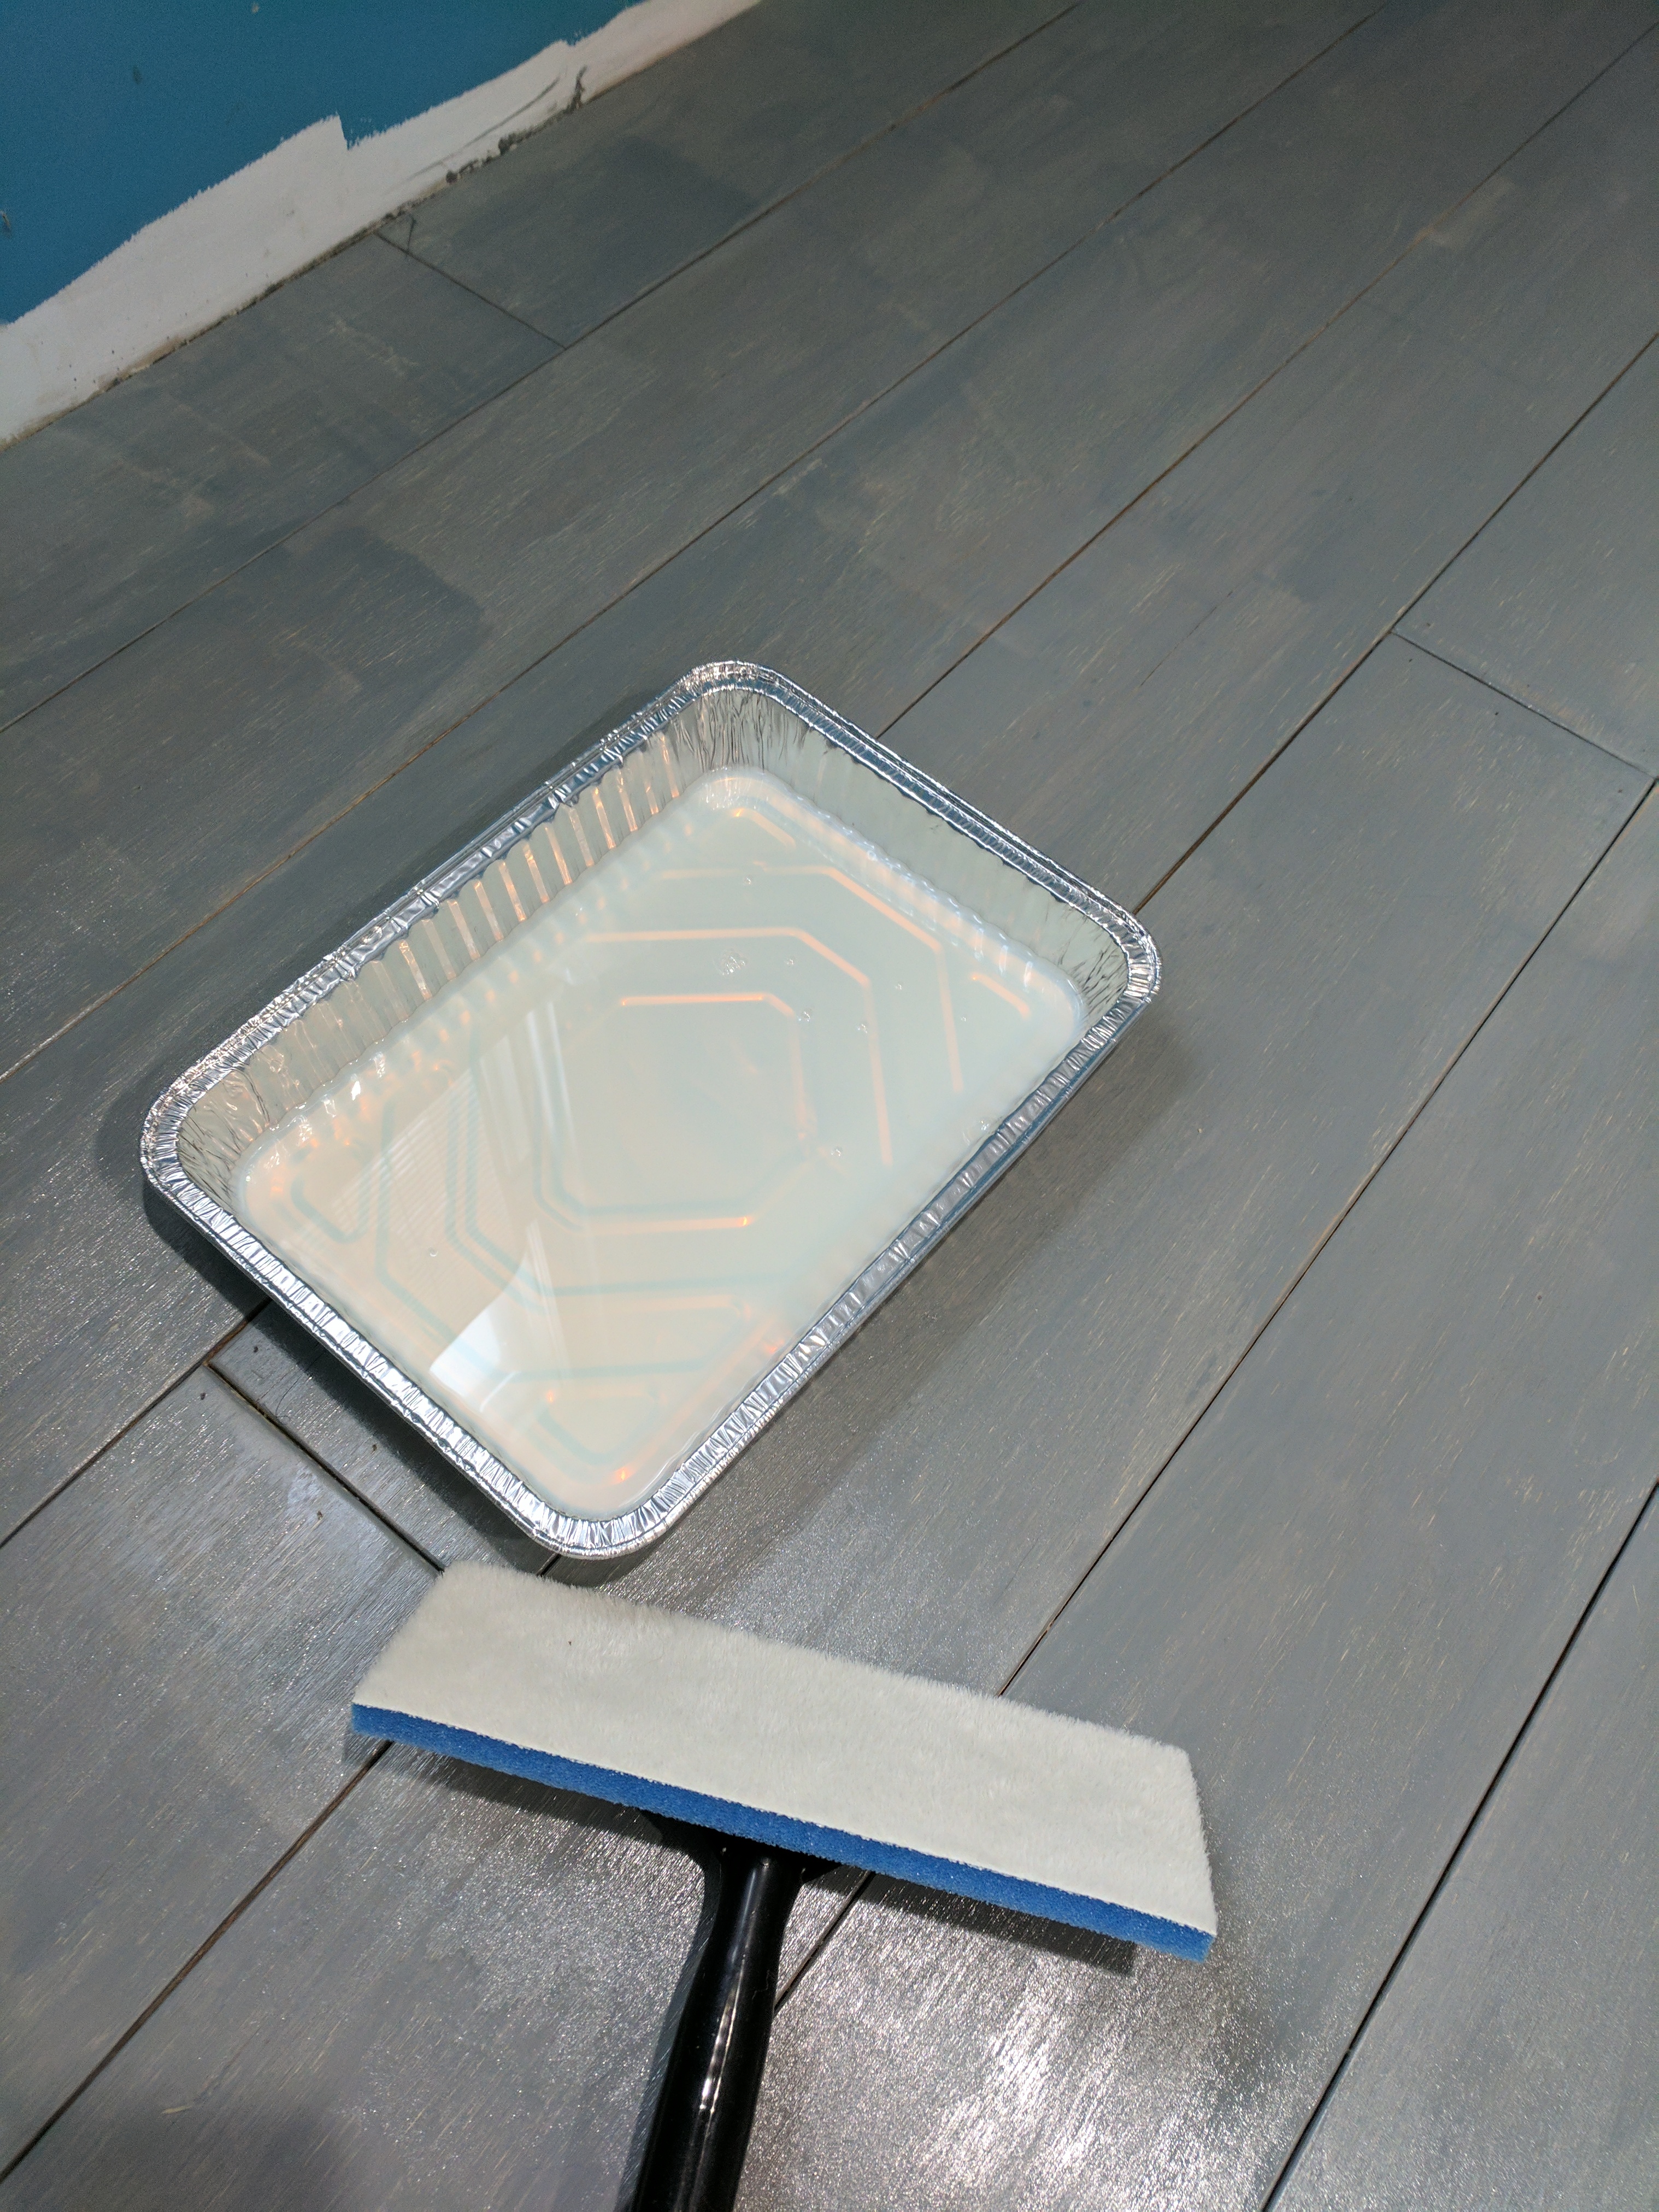
I used a floor stain pad to apply it (and some cheap aluminum pans for easy clean up). It is much thinner than you’d expect, but goes on great. Don’t take too much time or it will start to dry and pull. Also, don’t let any bubbles sit – they will harden. It says 2 hours between coats, and on a hot day, it was really dry and hard after 2 hours. It says to do at least 3 coats. The one gallon allowed me to do 4 – I think it needed the 4th. Provided this holds up well over time, I’ll use it again!
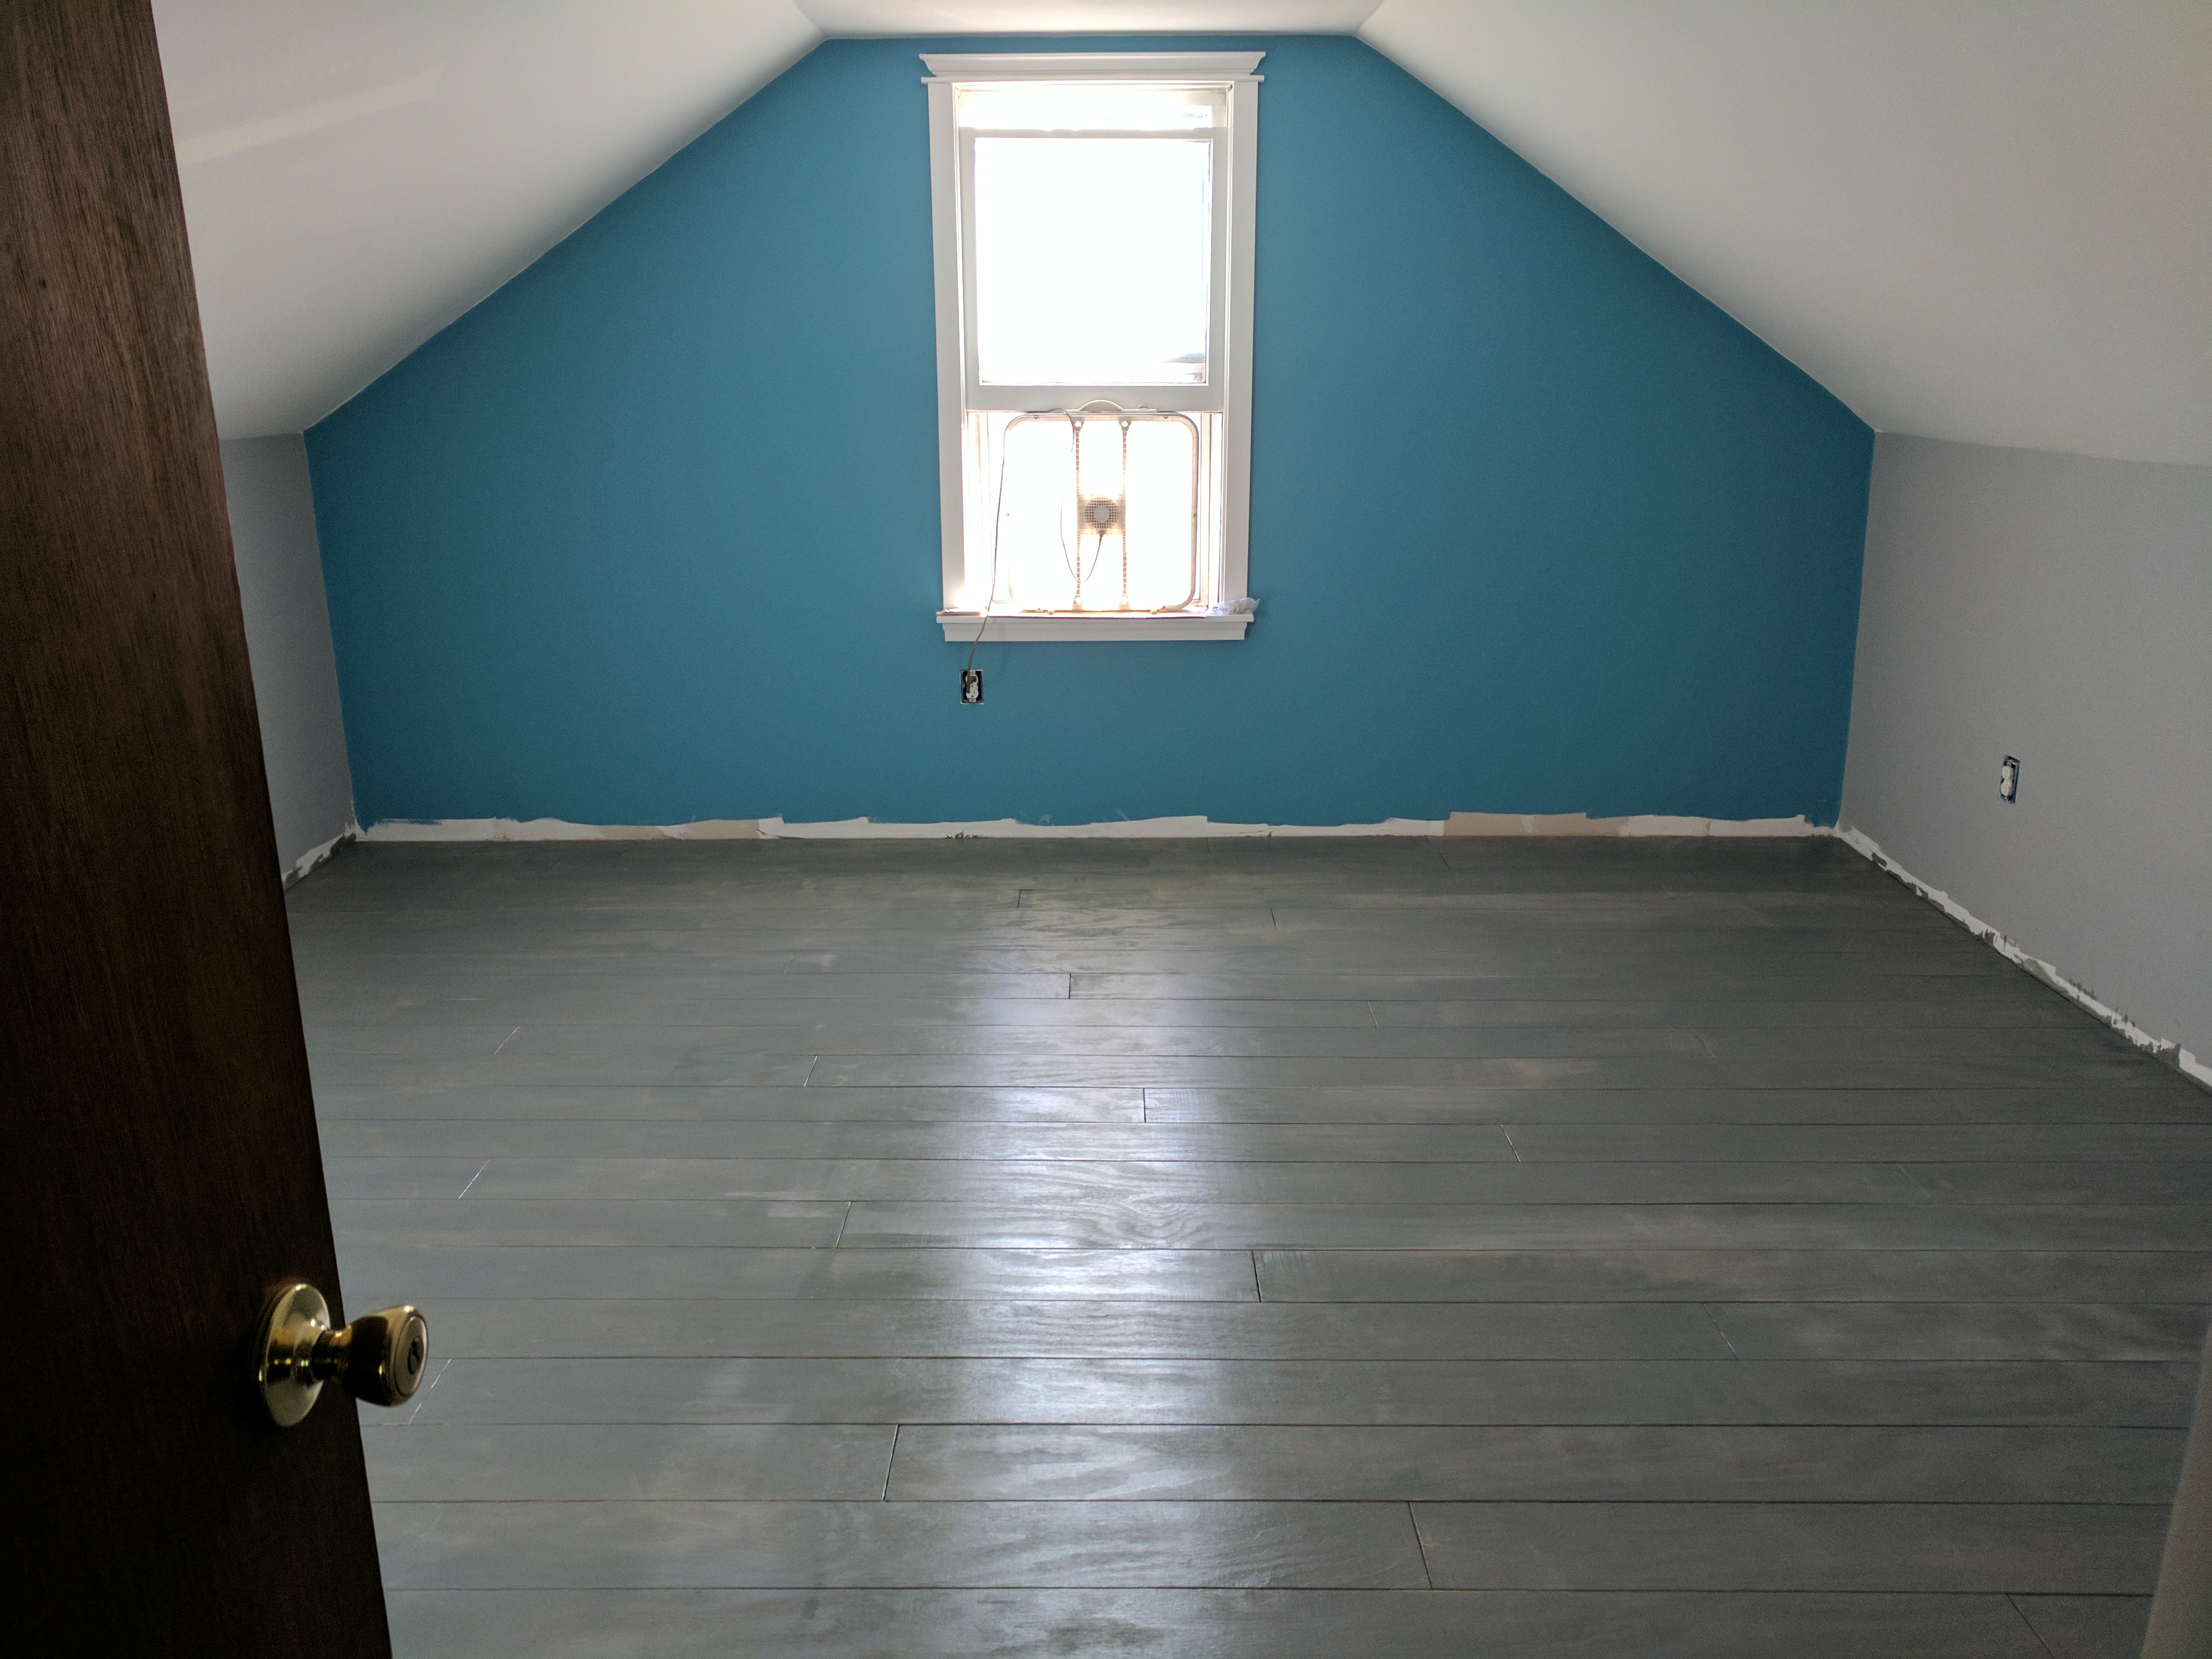
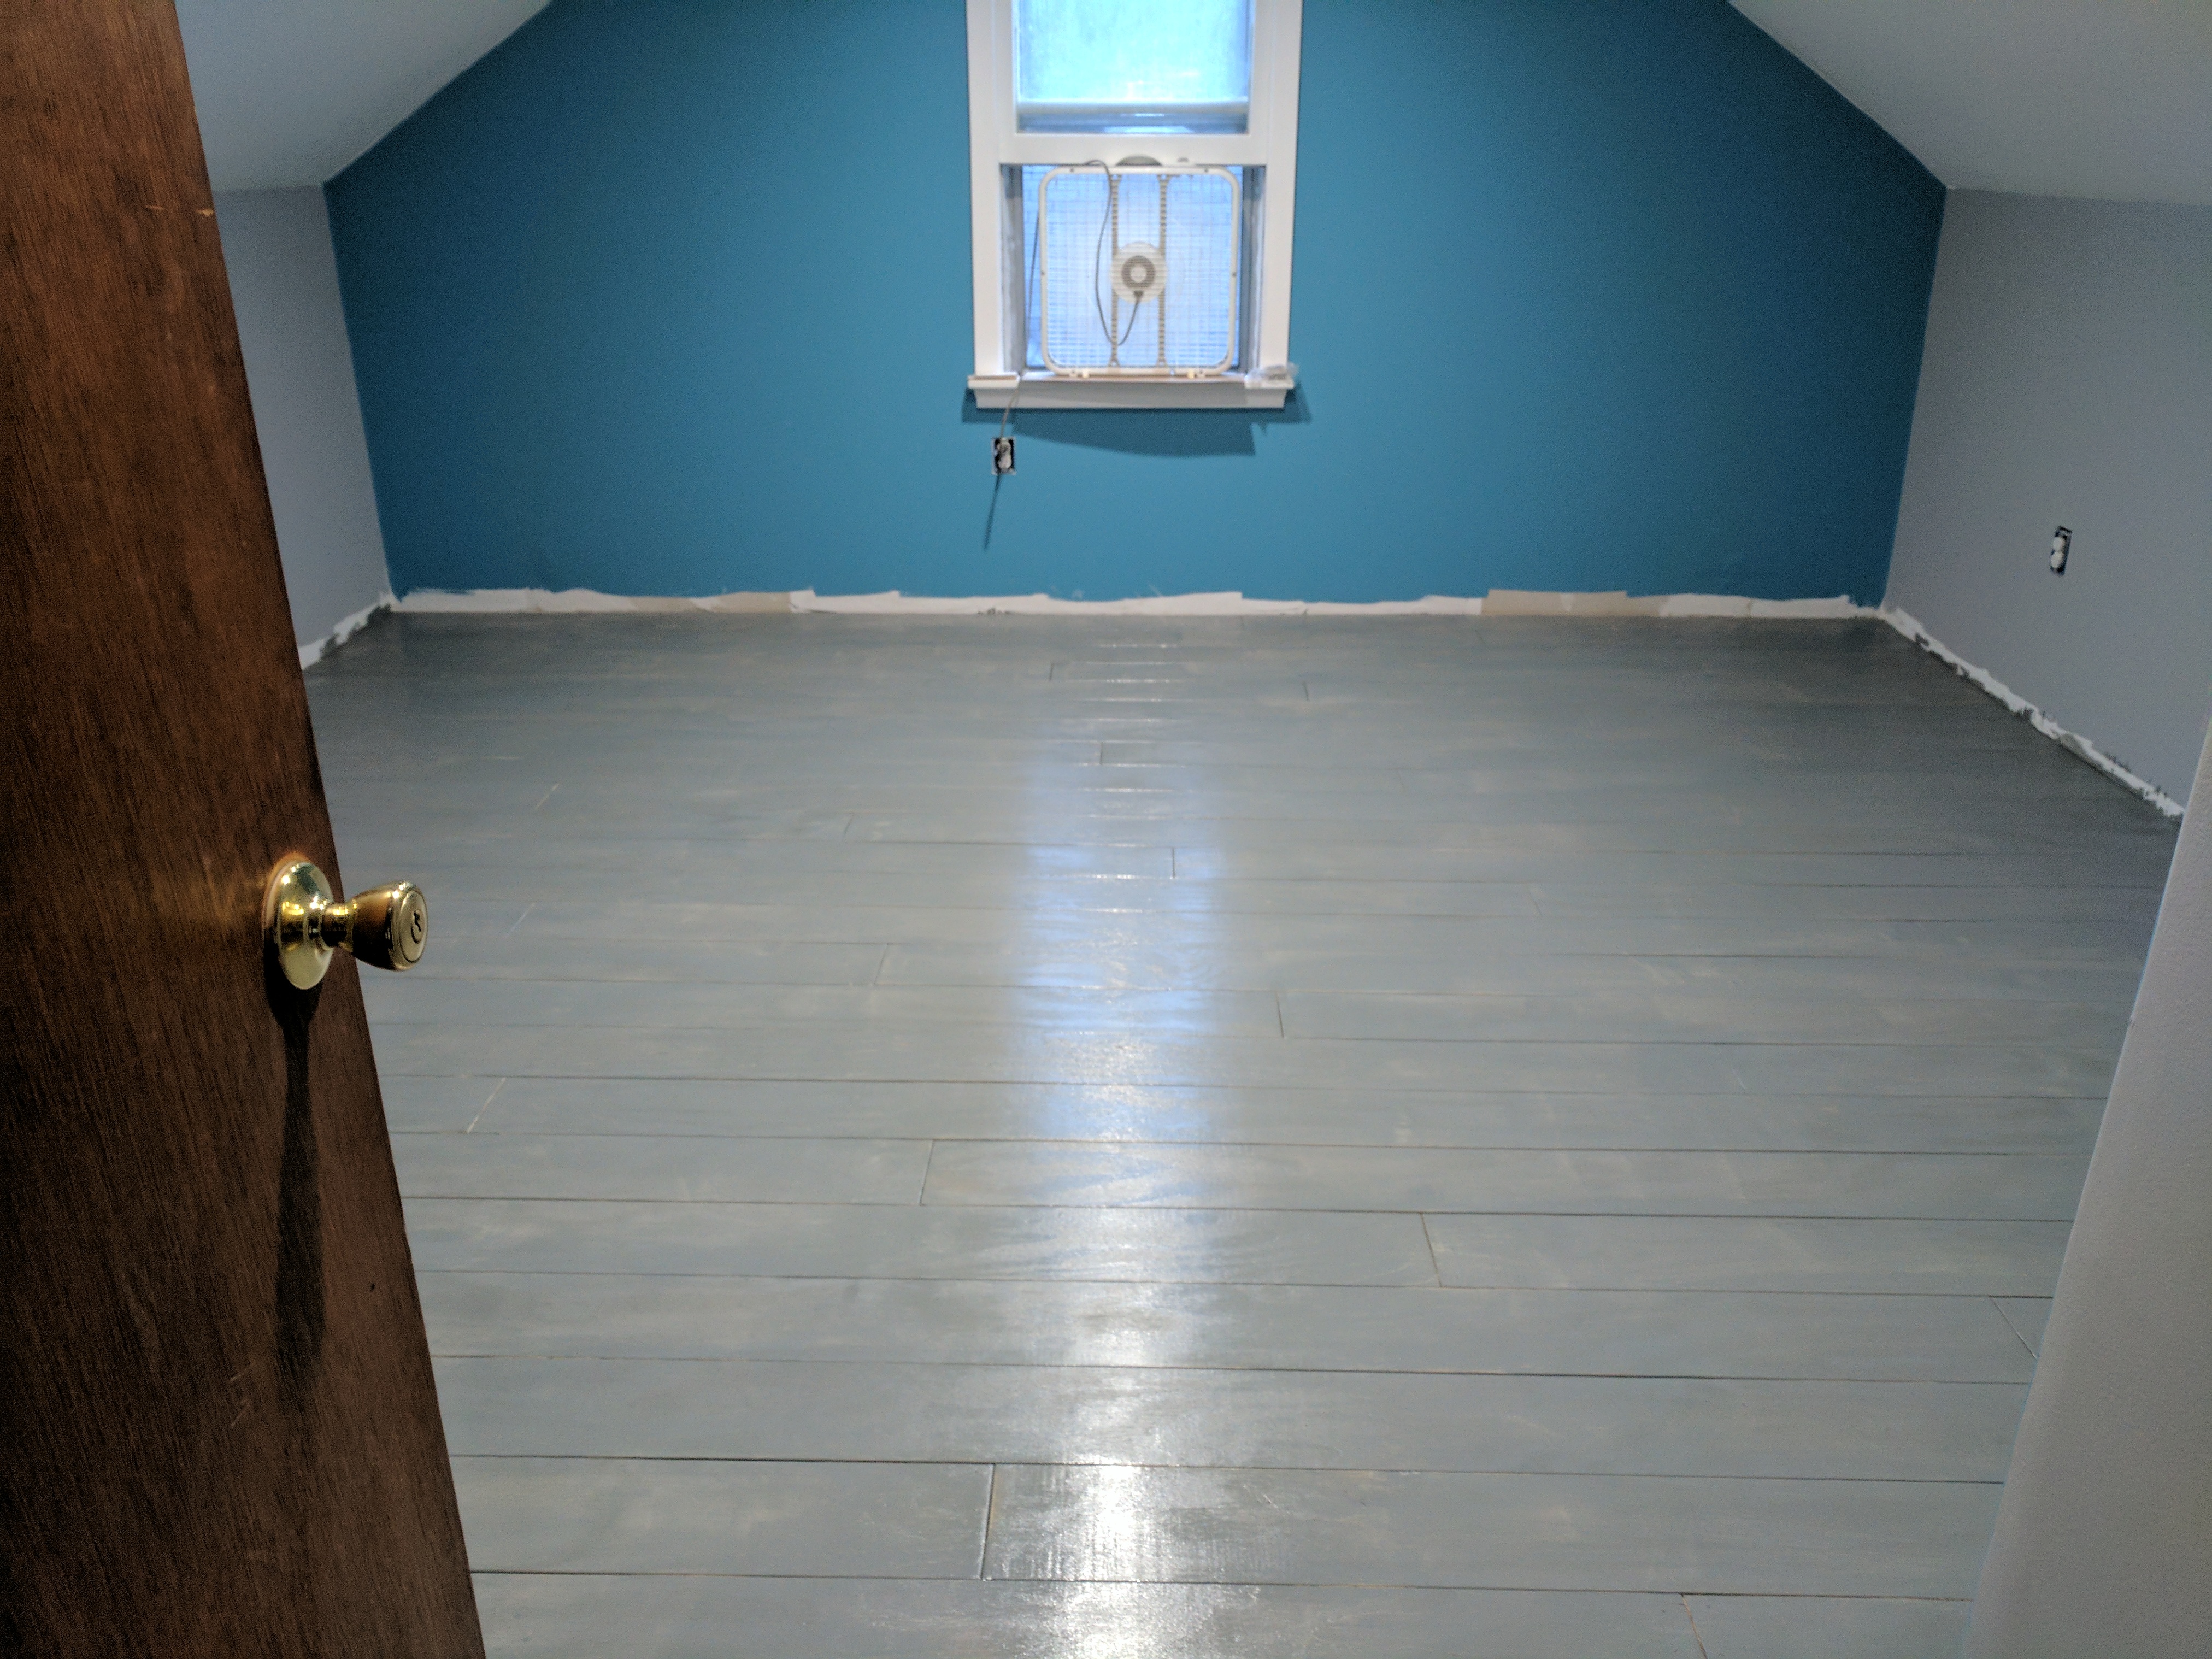
So far we’re happy with it, I’ll see how it wears over time.
Let me know of any questions!
Lessons Learned
- Make sure floor is 100% clean. Even a paint bristle or bug will get stuck in the poly. You’ll have to sand it out.
- Cut your planks to be as precise as possible.
- Get even bigger paint brushes to apply white & gray washes. Maybe roll it on?
- Use something cheaper than floor stain pad for the Poly. It was a pain to wash between coats.
- Glad I decided to use the jigsaw for cutting the planks and cutting corners and doorways. Was much less of a mess than miter saw (I cut them over a cardboard box).
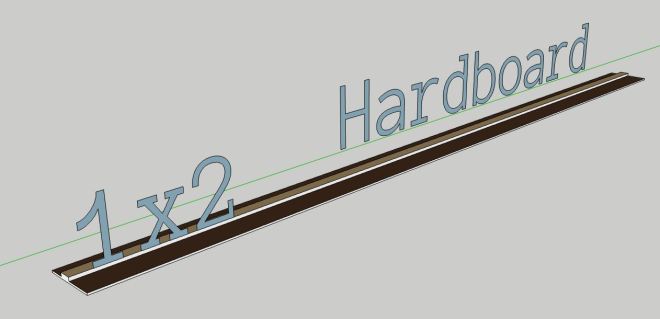
Saw guide I used / made:
For the saw guide, I used some hardboard (it’s the 1/8″ brown, basically compressed cardboard stuff). It’s cheap (6$ from Home Depot), thin, and easy to work with – I started with a 4×8 sheet. I then cut a 1 foot strip (8′ x 12″) then glued and screwed (using some really small screws) a 1×2 (or 1×3) board onto it (just ordinary pine or whatever). You don’t want any play or movement in it. Don’t put it too far back, so you leave room to clamp the hardboard to whatever you’re cutting. After this is dry and sturdy, basically take your circular saw and run it in front of the 1×2. Then you’ll have a nice straight line. Now you can use the front of this as your guide, like it up where you’d like to cut, clamp it (make sure the clamps don’t get in the way of your circular saw), and carefully cut. Below is a super basic drawing, as I didn’t have any photos when I added this:
As always, be safe when using power tools.

Lovely floor, and concise, descriptive instructions. I’m looking to do the same in my house, but I need to figure out how to cut straight planks from the plywood. You mentioned a saw guide — can you post instructions on how you made it (along with a photo)? I’ve thought of purchasing a saw guide from Lowes, but want to save some money. Much appreciated!
LikeLiked by 1 person
I’m going to add this to the post, but basically: I used some hardboard (it’s the 1/8″ brown, basically compressed cardboard stuff). It’s cheap (6$ from Home Depot), thin, and easy to work with – I started with a 4×8 sheet. I then cut a 1 foot strip (8′ x 12″) then glued and screwed (using some really small screws) a 1×2 (or 1×3) board – make sure it’s straight! – onto it (just ordinary pine or whatever). You don’t want any play or movement in it. Don’t put it too far back, so you leave room to clamp the hardboard to whatever you’re cutting. After this is dry and sturdy, basically take your circular saw and run it in front of the 1×2. Then you’ll have a nice straight line. Now you can use the front of this as your guide, like it up where you’d like to cut, clamp it (make sure the clamps don’t get in the way of your circular saw), and carefully cut.
Hope that helps. I consider this temporary, as I don’t know how time will affect it’s straightness.
LikeLike